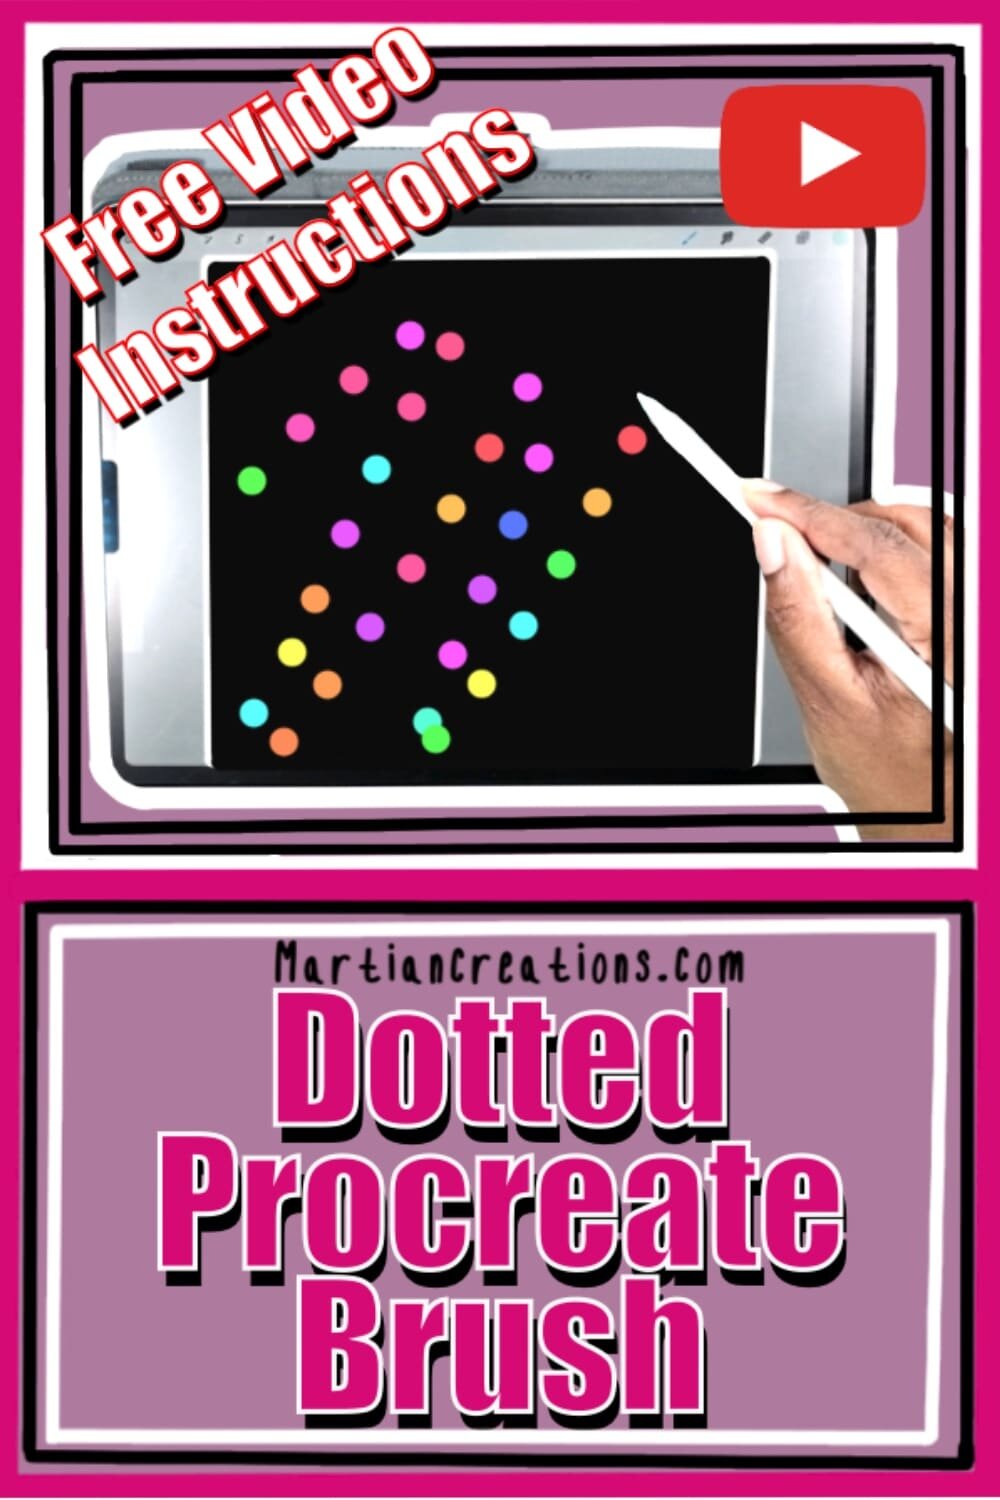
Dotted Procreate Brush
Creating a dotted brush in Procreate is easier than you might think. In this guide, we’ll walk you through the steps of building a unique dotted brush and adjusting it to fit your style. Stick around for a bonus tip on how to quickly generate custom color palettes!
Visual learner? Scroll to the bottom for the step-by-step video tutorial.
Step 1: Set Up Your Canvas in Procreate
Open Procreate and create a new square canvas. Background color doesn’t matter; the focus is on configuring your new brush.
Open the Brush Library by hitting the plus (+) symbol to create a new, generic brush.
Step 2: Configure Brush Settings
With your blank brush ready, navigate through the settings to shape your dotted brush.
Apple Pencil Settings:
Adjust the Opacity under “Pressure” settings by sliding it to zero. This ensures that your brush strokes have consistent opacity throughout, without fading at the edges.
Stroke Path Settings:
Set the Spacing to maximum. This separates the dots, creating the dotted effect that we’re aiming for.
Increase Streamline to its maximum setting. This keeps your dots evenly spaced and makes the brush strokes cleaner and more uniform.
Step 3: Add Color Dynamics
Want to bring some variation to your dotted brush? Try playing with the Color Dynamics setting.
Turn the Hue slider up to around 70-80%. This adds subtle shifts in hue for each dot.
Set Lightness to max to give your dots a pastel vibe.
Experiment with Color Stroke Jitter by setting Hue and Lightness to similar values as above. These tweaks bring in randomized color variations to your dots for a more dynamic look.
Tip: If you’re satisfied with the current setup, hit Done and test out your brush. Choose your favorite color, and experiment to see how each setting affects your brush strokes.
Step 4: Name and Save Your Custom Brush
Once you’re happy with the look of your dotted brush:
Go to About This Brush and rename it, such as “Dotted Brush.”
Under “Made by,” add your name to personalize it.
You can even add a little icon image to represent your brush!
Bonus Tip: Quick and Easy Color Palette Creation
Need a new palette fast? Here’s a quick trick to create a custom color palette from any image.
Search online for an image (e.g., “purple yarn without label”) that has colors you like.
Save the image, open Procreate, and go to Colors > Palettes > New from Photo.
Choose your saved image, and Procreate will automatically generate a palette with the colors from that photo. This technique is a fantastic time-saver, especially if you need cohesive, unique color schemes for your projects.
And that’s it! You’ve made a custom dotted brush and picked up a pro tip for creating color palettes in Procreate. Don’t be afraid to tweak and test to make it truly your own. Happy creating!
Browse My Collection of Custom Procreate Brushes
Pin It!
If you love this project, don’t forget to pin it on Pinterest so you can easily find it later and share it with others! It’s a great way to organize your favorite ideas and inspire your next creation.
Support It!
If you've enjoyed our time together and would like to support my work, a small gesture like buying me a “cup of coffee” goes a long way!


