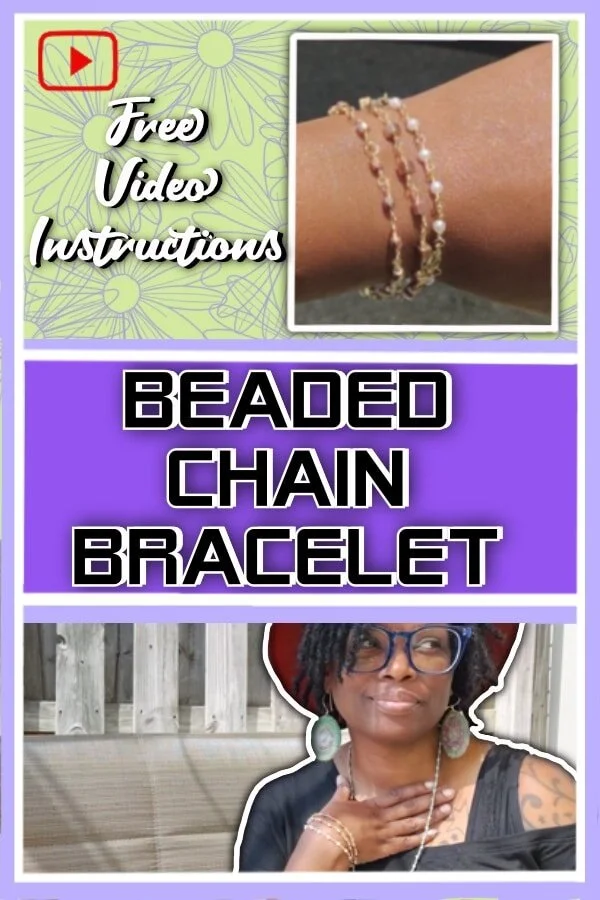
Beaded Chain Wire Wrapped Bracelet
In this post, I'm excited to show you how to create a Beaded Chain Wire Wrapped Bracelet—a delicate, stylish accessory that looks way more complicated than it really is. Whether you're new to jewelry-making or an experienced DIYer, this project is totally doable, and I'm here to walk you through it. Plus, it's a great way to use up beads you may already have in your stash. Let's get into it!
Visual learner? Scroll to the bottom for the step-by-step video tutorial.
Supplies You’ll Need
Beads: Any type or size, I’m using standard E-beads or 6/0 beads.
Wire: I’m using 24-gauge copper wire, which is flexible yet sturdy enough to hold the bracelet together.
Lobster claw clasp: For the closure.
Jump ring: To attach the clasp.
Tools:
Wire cutters: Essential for clean cuts.
Round nose pliers: To create your loops.
Flat nose pliers: For holding and wrapping wire.
A bead mat or soft surface: Keeps those sneaky beads from rolling away.
Step 1: Stringing Your Beads
Once you've gathered your supplies, it's time to start. First, pull out enough wire from your spool so you have plenty of room to work with. I always work with the wire in its natural loop—it’s easier to handle, and you'll know you have enough for a few beads at a time.
Pro tip: Pre-string your beads before you start wire wrapping. This trick saves time, keeps your workspace organized, and makes it easier to handle the wire once you’re in the zone. I use an old iPad mat as my workspace because it keeps beads from rolling away, but any piece of felt fabric will work!
Step 2: Making Your First Wire Loop
Here’s where we dive into the wire wrapping technique. Start by making a small loop with your round nose pliers. I like to go a little way down the wire to give myself enough room for wrapping. Once you’ve formed your loop, take the remaining tail of the wire and wrap it around the base of the loop three times to secure it.
After you’ve completed three wraps, use your cutters to snip off any excess wire. Then, take your flat nose pliers and gently press down any sharp ends. A smooth finish is essential, especially for bracelets, as you don’t want anything poking or scratching your wrist!
Step 3: Adding Your First Bead
With your first loop ready, slide your first bead into place. Grab your tiny pliers, and position them snugly against the bead. Here’s the trick—bend the wire back to form a 90-degree angle, then pivot your pliers to the side and begin twisting the wire around the pliers to form a loop.
Once you’ve got your loop, it’s time to wrap the wire around the base next to the bead three times, just like you did for the first loop. This ensures your bracelet will have a consistent look, with uniform loops between each bead.
Step 4: Repeat the Process
Congratulations! You've completed your first bead. Now, you’ll need to repeat the process for the remaining beads:
Create a loop with your pliers.
Attach your next bead to the loop.
Wrap the wire around three times to secure it.
Snip off any excess wire and tuck in the ends with your flat nose pliers.
As you progress, check your work to make sure everything is even. You want each loop and bead to be lined up neatly so your bracelet lays flat when worn. The daintiness of this beaded chain wire wrapped bracelet makes it so charming!
Step 5: Keep Going Until Your Bracelet is the Right Length
Keep adding beads and wrapping wire until your bracelet reaches the desired length. For most wrist sizes, you'll need about 7-8 inches of beaded chain. How many beads you use will depend on their size—E-beads, for example, typically need about 14 beads for a 7.5-inch bracelet, while larger beads will require fewer.
Step 6: Attaching the Clasp
Once your bracelet is long enough, it’s time to add the closure. Take your jump ring and use your flat nose pliers to gently open it. Slip the lobster claw clasp onto the jump ring, then attach it to one end of your beaded chain. Use your pliers to close the jump ring securely.
For the other end of the bracelet, you can either create a small wire loop or attach another jump ring to serve as the clasp's hook. I sometimes skip the jump ring entirely by using the last loop of the bracelet itself as the closure. It’s a neat trick that keeps everything streamlined!
Step 7: Final Touches and Quality Check
With the clasp securely in place, your bracelet is almost ready to wear. But before you call it done, give everything a quick check:
Are all the wire wraps secure and snug?
Are there any sharp wire ends sticking out? If so, gently press them down with your flat pliers.
Is the bracelet the right length and does the clasp function smoothly?
Once you’re satisfied, your beaded chain wire wrapped bracelet is complete!
Pro Tip: Make Multiple Styles
This technique isn’t just limited to small E-beads or 6/0 beads—try it with different types and sizes of beads for a variety of looks. I’ve made many bracelets using everything from seed beads to larger pearls, and they all turn out gorgeous in their own way. The bead count will vary depending on the size of the beads, so be prepared to experiment a little.
For example, larger beads like pearls typically require only 11 beads for a 7.5-inch bracelet, while smaller beads will need more. Mix and match colors and bead types to create unique designs that suit your personal style.
Pin It!
If you love this project, don’t forget to pin it on Pinterest so you can easily find it later and share it with others! It’s a great way to organize your favorite ideas and inspire your next creation.
Support It!
If you've enjoyed our time together and would like to support my work, a small gesture like buying me a “cup of coffee” goes a long way!


My comprehensive, step-by-step course is designed for anyone wanting to start learning crochet. I'll guide you through every stage of the process, from mastering basic stitches to finishing a project.