We R Memory Keepers Happy Jig
If you're diving into wire art, then the Happy Jig from We R Memory Keepers is a fantastic tool for creating custom designs. Follow along as I walk through the entire process, from unboxing to making a project you can wear or sell. Whether you're looking to create unique jewelry, scrapbook embellishments, or personalized planners, the Happy Jig has got you covered.
Scroll to the bottom for the full video review
What Is the Happy Jig and How Does It Work?
The Happy Jig is a versatile wire-wrapping tool that allows you to make intricate designs by wrapping wire around pegs on a grid. It includes a variety of wire gauges and sizes, making it flexible enough to handle delicate and bold designs alike. With over 100 templates, you can create everything from simple shapes to complex, three-dimensional forms.
Unboxing the Happy Jig: What's Inside?
The Happy Jig kit comes with:
A grid base with labeled letters and numbers for easy peg placement.
Multiple pegs in various sizes, including specialty pegs with grooves.
14-gauge wires in different colors for strong, yet flexible designs.
A compact cutter with comfortable, non-slip handles for precise cuts.
Tips for Creating with the Happy Jig
Start with Templates: The instruction manual includes templates for popular shapes, such as arrows, cameras, and hearts. Each template specifies the peg placement, so all you need to do is follow the guide.
Use the Groove Peg for Precision: The groove peg is a helpful tool for anchoring the wire, especially at the beginning of your design.
Wrap with Extra Wire for Versatility: If you plan to turn your design into a ring or earring, start with extra wire length. This will allow you to adjust and add loops or connectors as needed.
Tight Peg Placement: If the wire feels tight, try wrapping carefully to prevent smaller pegs from popping out. If pegs are hard to remove, simply push them from the back of the board.


Creating Wearable Projects with the Happy Jig
One exciting use for the Happy Jig is making jewelry, like rings and earrings. Here’s a quick overview of how I created a camera-shaped ring:
Set up your pegs: Follow the template in the instruction book to place your pegs in the grid.
Wrap your wire: Use 15 inches of wire for a standard ring size and wrap it around the peg setup.
Reinforce the shape: After shaping, use an anvil and hammer to harden the wire, adding durability.
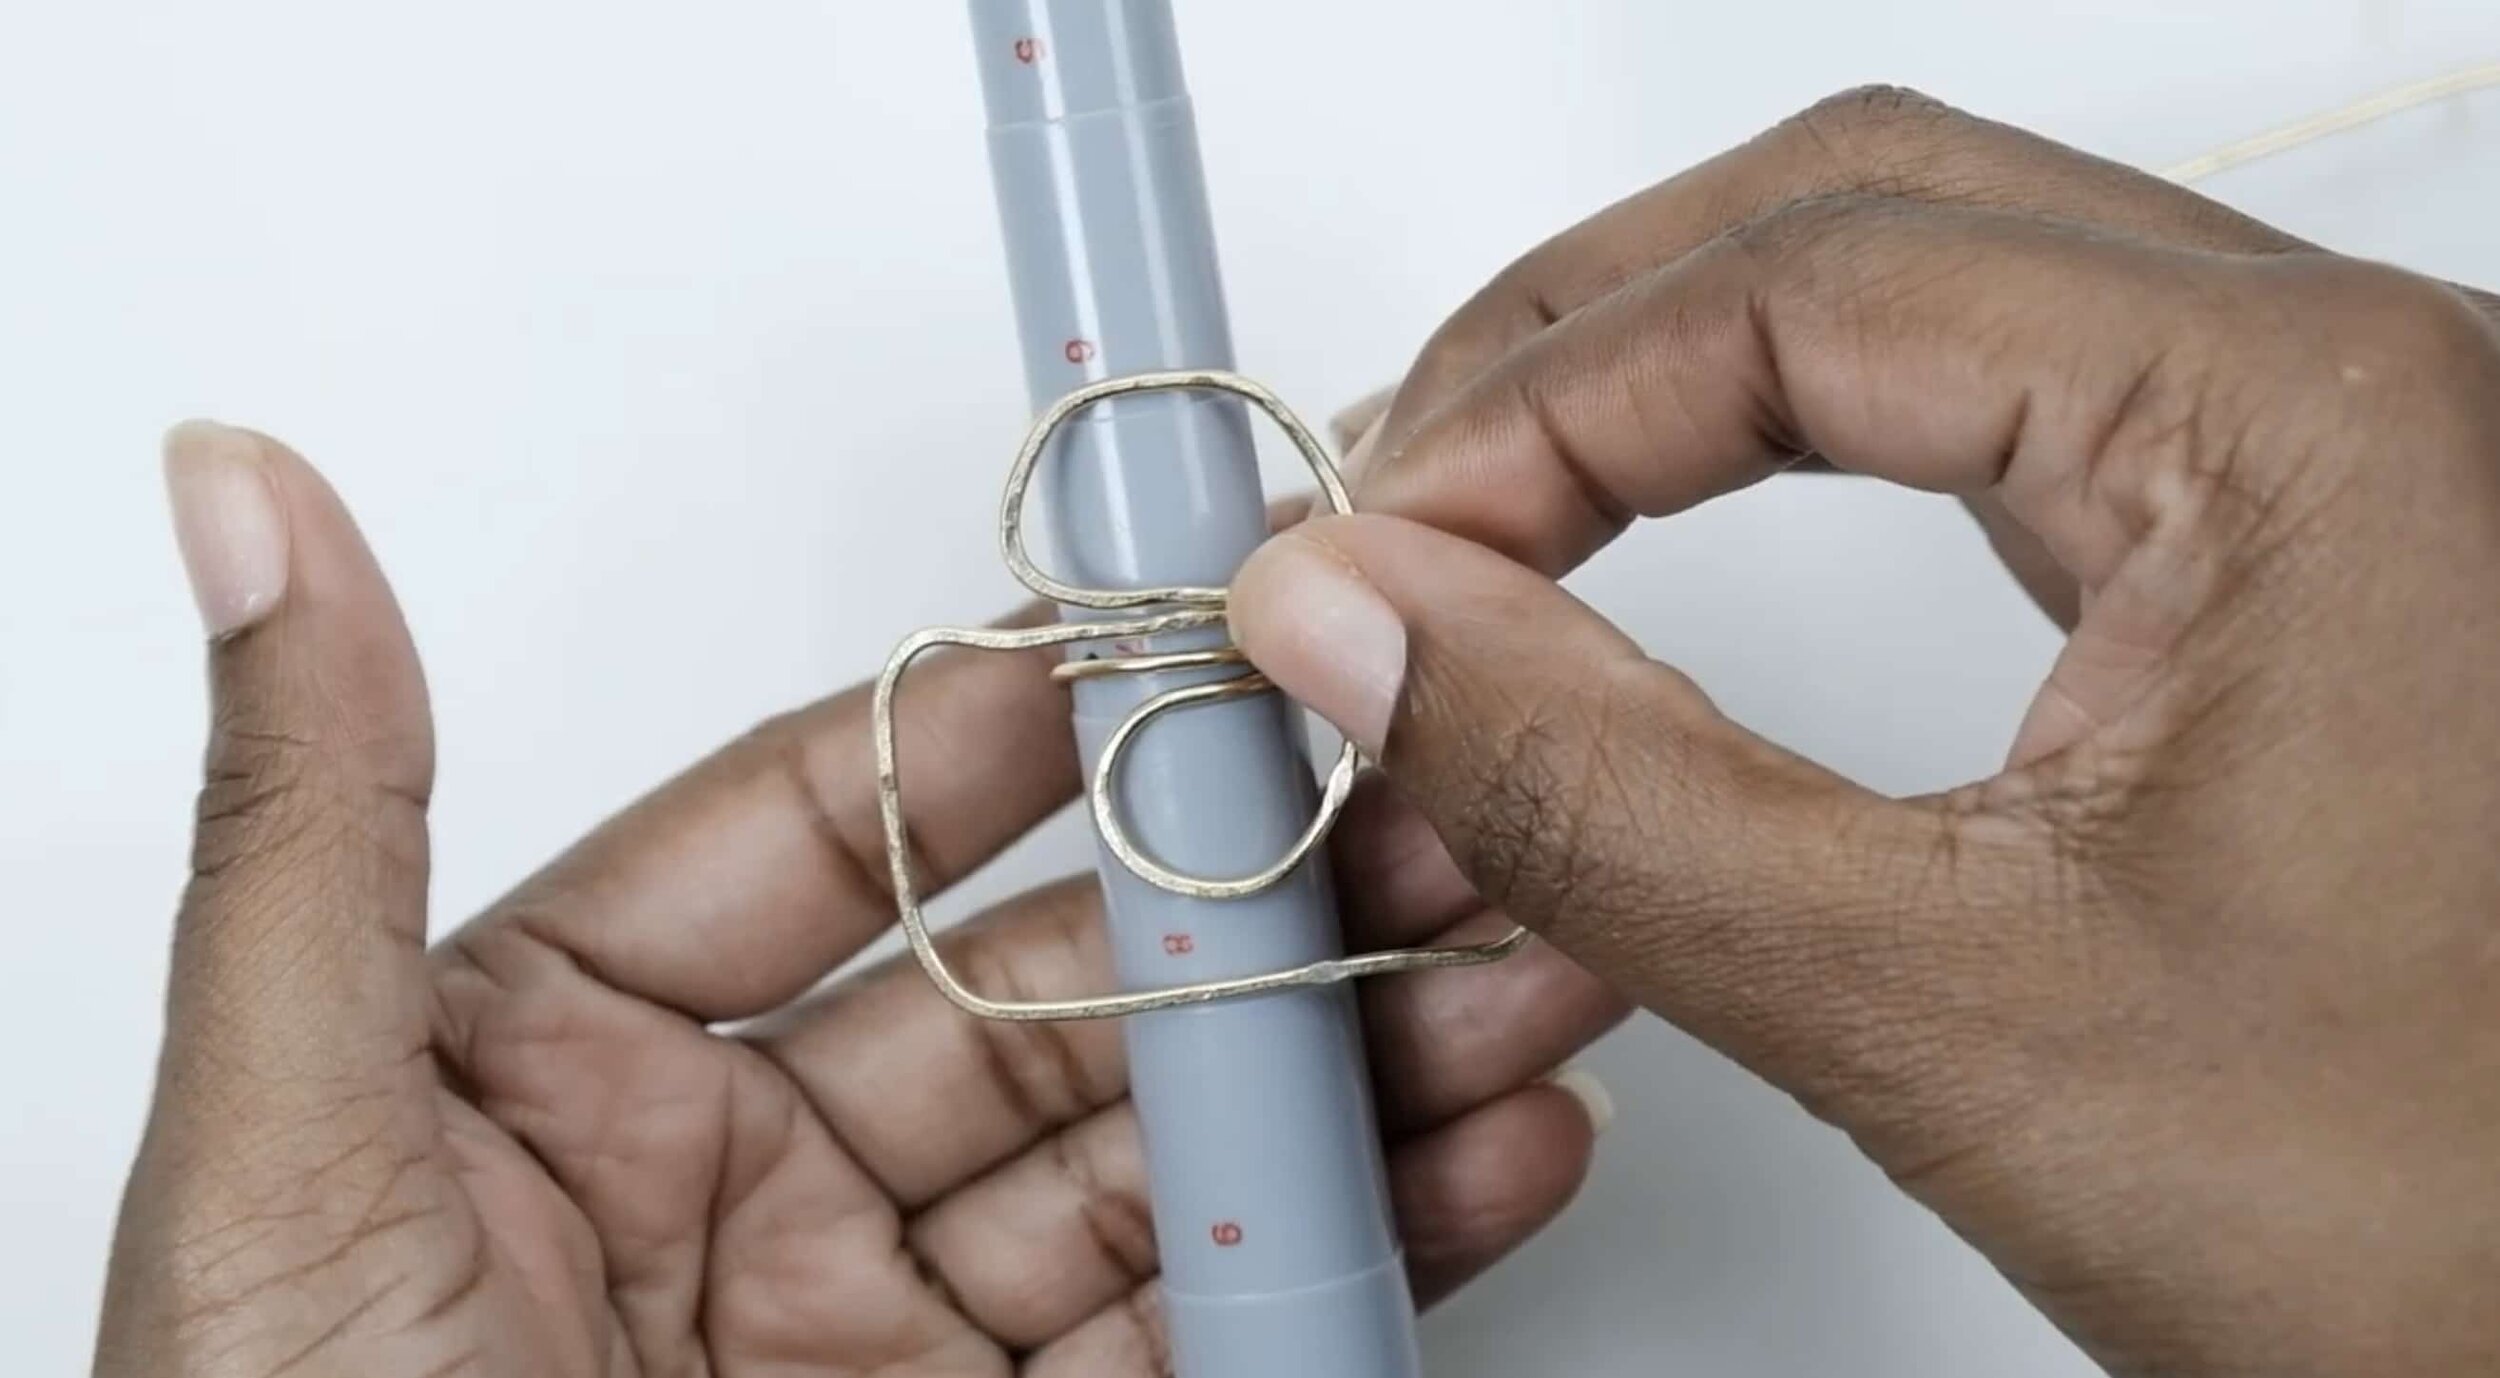
Finish with a ring mandrel: Wrap your design around a ring mandrel to size it perfectly.
Strengthen Your Designs with an Anvil
For wire designs that require durability, tap your finished piece on an anvil to compress the wire, adding strength and stability. This technique is essential for jewelry, where designs need to hold their shape over time.
Troubleshooting the Happy Jig
Some users find that certain pegs are challenging to place or remove. Flipping the board upside down and pushing from the back can help those stubborn pegs. Additionally, light hammering can reinforce loose sections, preventing unwanted shifts in the design.
Final Thoughts
The Happy Jig is a tool with endless potential, allowing creators to make everything from personal jewelry to embellishments for crafts. The learning curve is slight, but with a little patience, you’ll create intricate designs in no time. So whether you're a seasoned crafter or a beginner, the Happy Jig is a fantastic addition to your toolkit.
Pin It!
If you love this project, don’t forget to pin it on Pinterest so you can easily find it later and share it with others! It’s a great way to organize your favorite ideas and inspire your next creation.
Support It!
If you've enjoyed our time together and would like to support my work, a small gesture like buying me a “cup of coffee” goes a long way!


