Custom Textured Procreate Brushes
Creating custom brushes in Procreate can elevate your artwork and add a unique, personalized touch to your digital creations. If you’ve ever felt limited by the default brushes in Procreate, this guide will walk you through creating your own brush using textures from the world around you. It’s a surprisingly simple and fun process, even if you’re new to Procreate or digital art!
This is a fun and creative way to bring your own style into your artwork. By using everyday textures, you’ll find endless inspiration right outside your door. Even if you’re new to digital art, Procreate’s tools make it easy to start crafting brushes that feel entirely your own.
Visual learner? Scroll to the bottom for the step-by-step video tutorial.
Step 1: Get Inspired by Everyday Textures
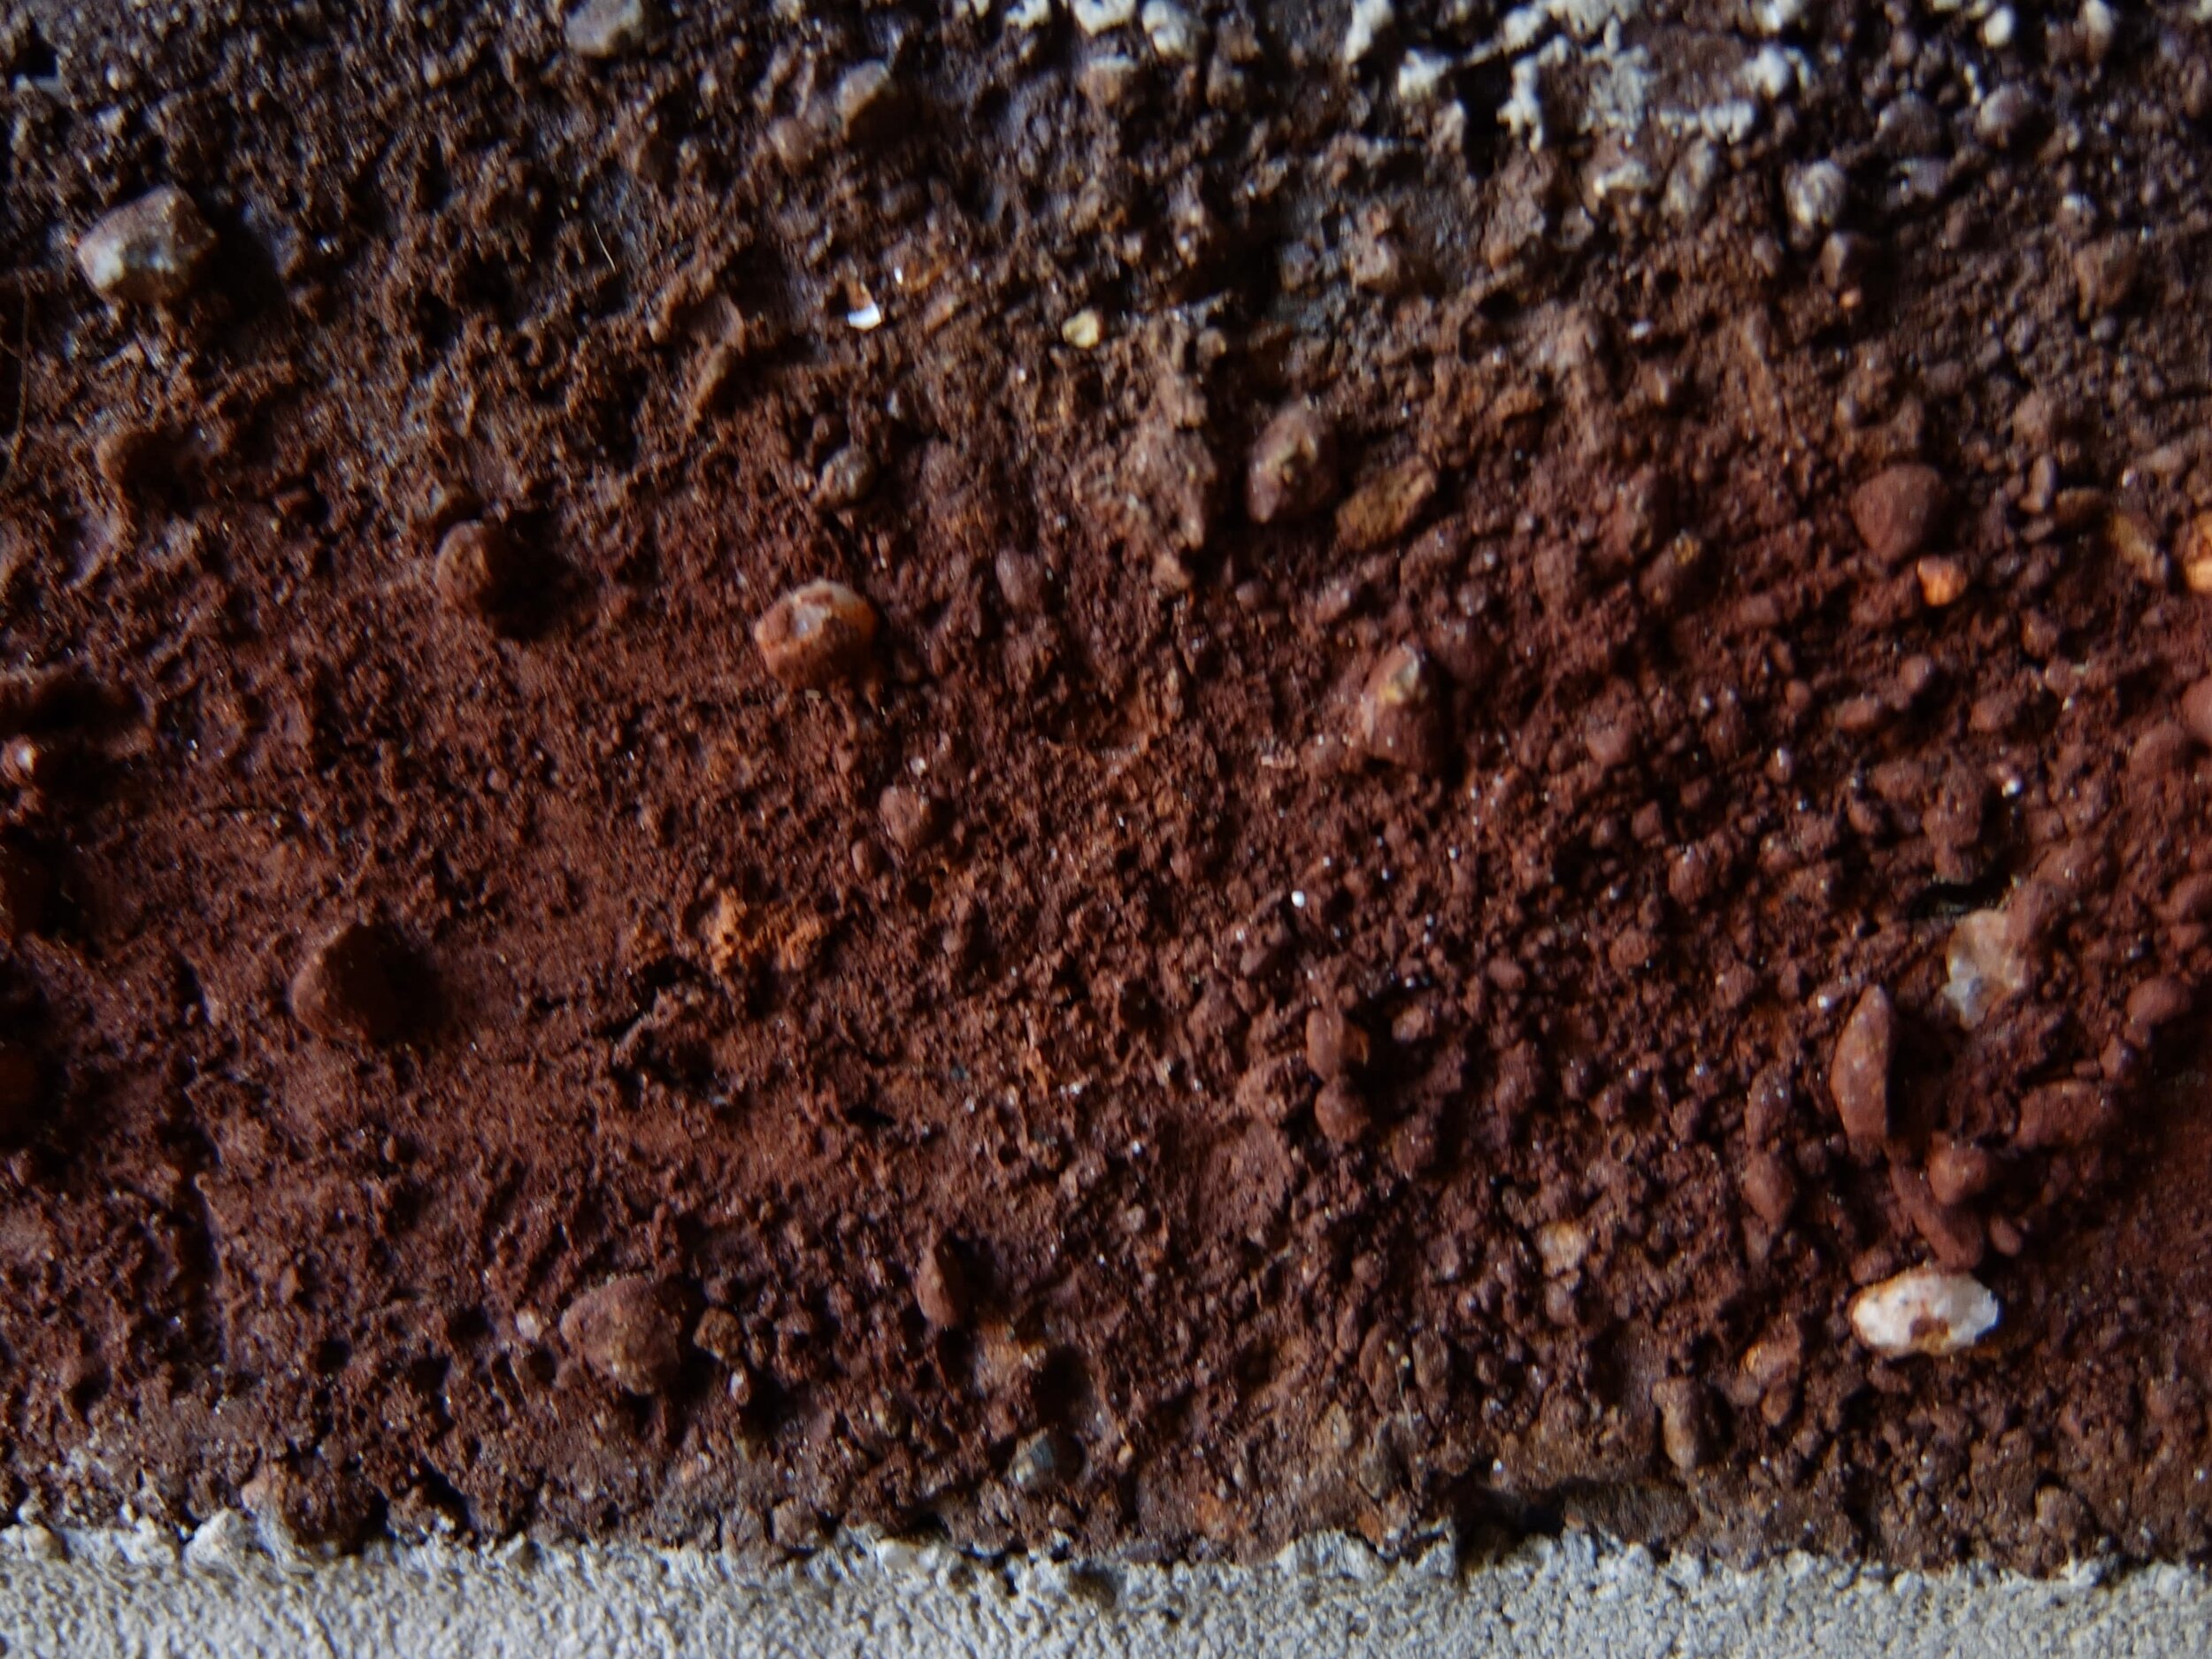
The first step in creating a custom brush is to find inspiration in the textures around you. Whether it's the brick wall outside your home, a leaf, or the surface of a rock, these everyday textures can make fantastic brushes.
In this example, I used a photo of a brick wall outside my house, thinking its rough and uneven texture would translate well into a brush. This might seem unconventional, but look around—you might find some interesting textures just waiting to be turned into Procreate brushes.
Step 2: Prepare the Texture Image
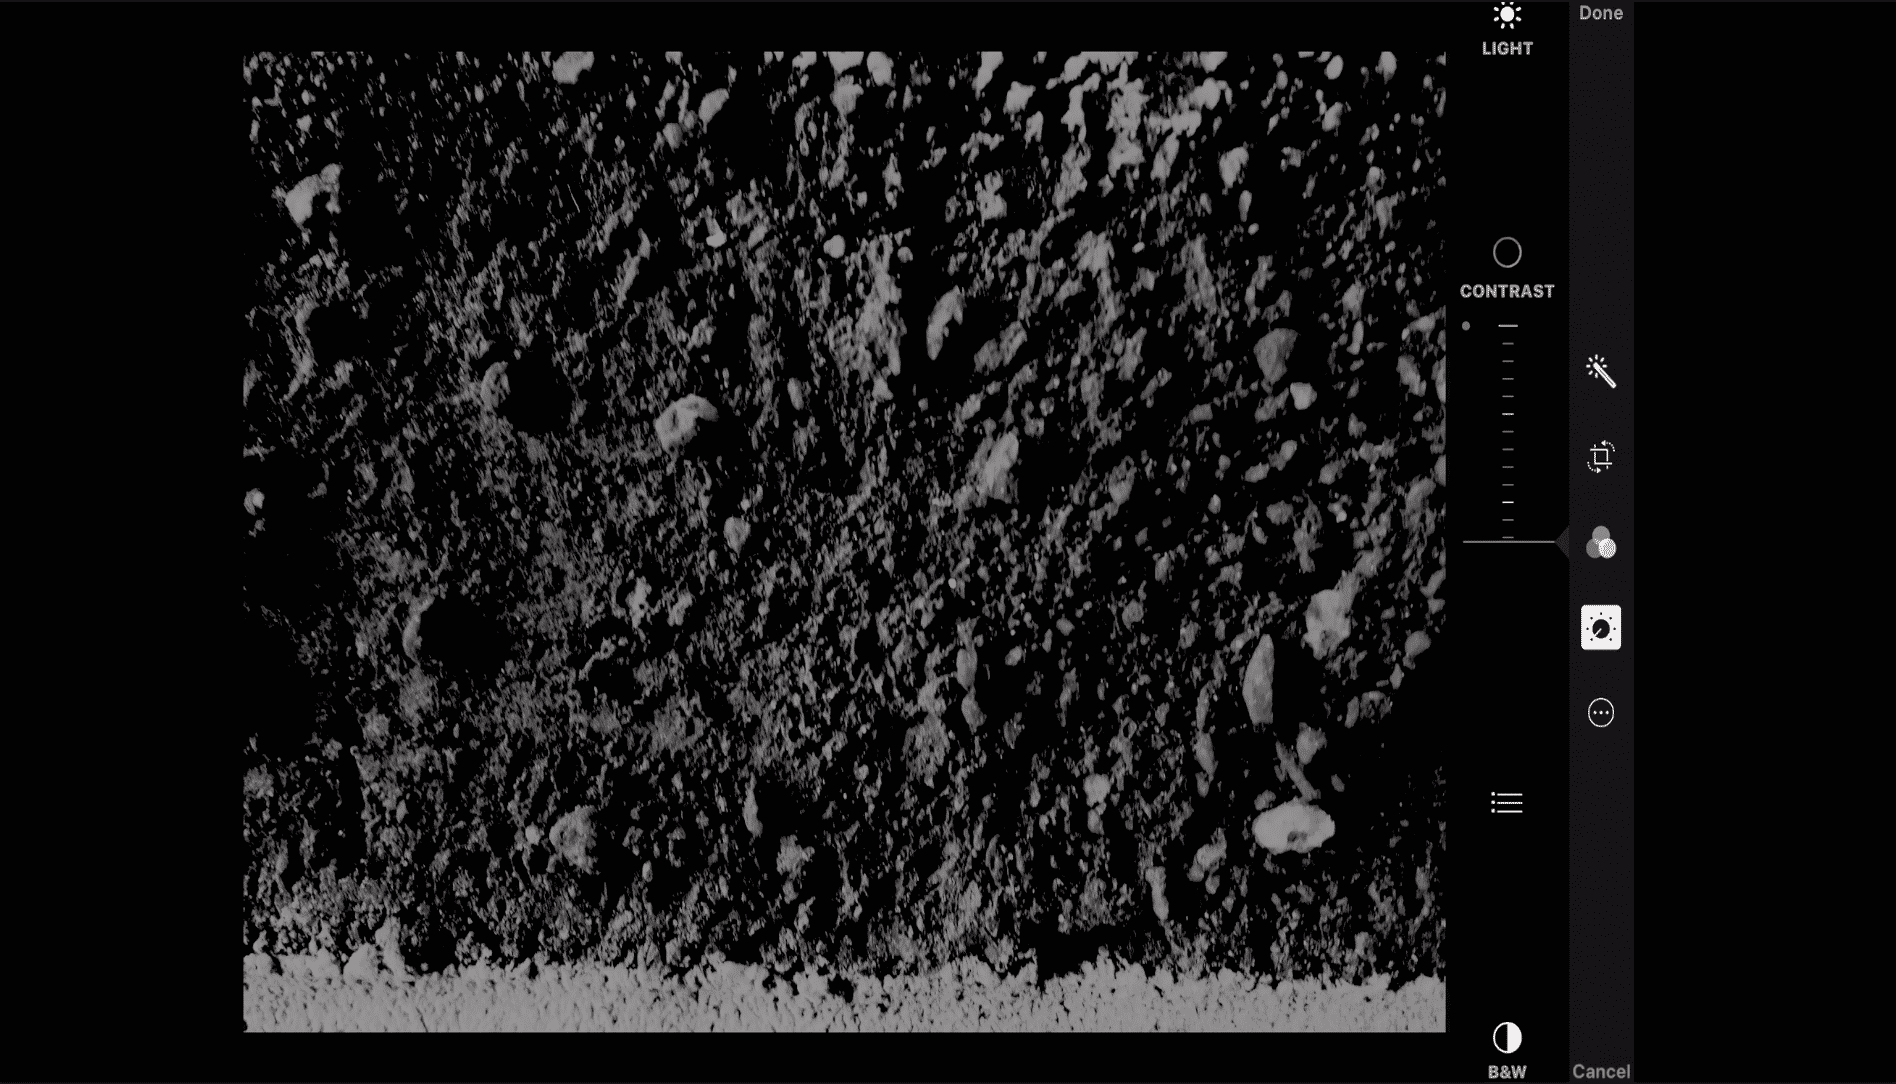
Once you've taken a picture of your chosen texture, open it in your iPad’s default Photo app to make it black and white. Adjusting the image to black and white with high contrast is essential because it helps Procreate identify the texture better.
Here’s how to adjust the image:
Contrast: Increase the contrast to make the texture more defined.
Brightness and Shadows: Play with brightness and shadow settings to bring out the finer details.
Black Point and Saturation: Adjust these to get the best monochrome result. Don’t worry if it’s not perfect—experiment with the settings until you’re happy with the look.
After making these edits, crop the image to focus on the best part of the texture.
Step 3: Import the Texture into Procreate
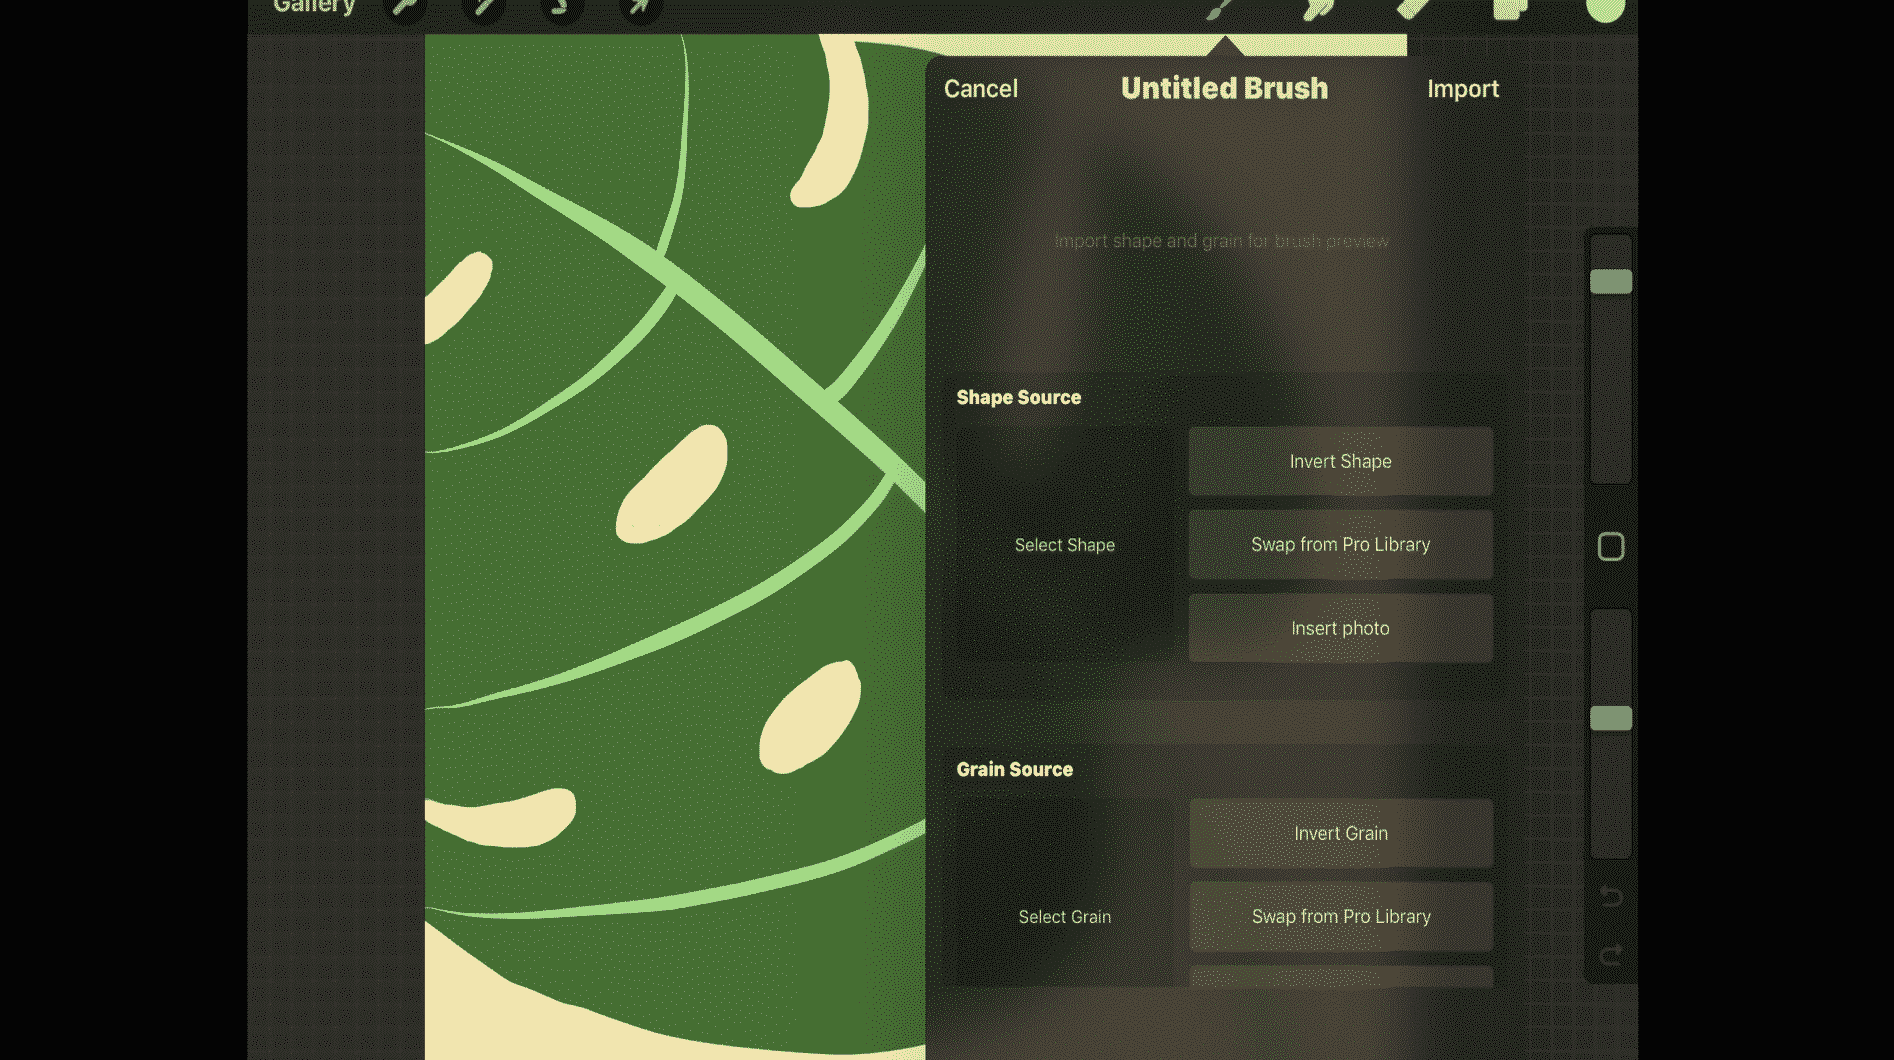
With your black-and-white texture image ready, open Procreate and create a new brush. Here’s a step-by-step guide on importing and setting up your custom brush:
Add a New Brush: Tap on the brush icon and then the “+” symbol to create a new brush.
Shape Source: Under “Shape Source,” choose a basic shape from the Procreate library. For this example, I used a simple “ink splotch” shape.
Grain Source: Choose “Insert Photo” under the Grain Source and select your edited texture image from your camera roll.
Step 4: Customize Your Brush Settings
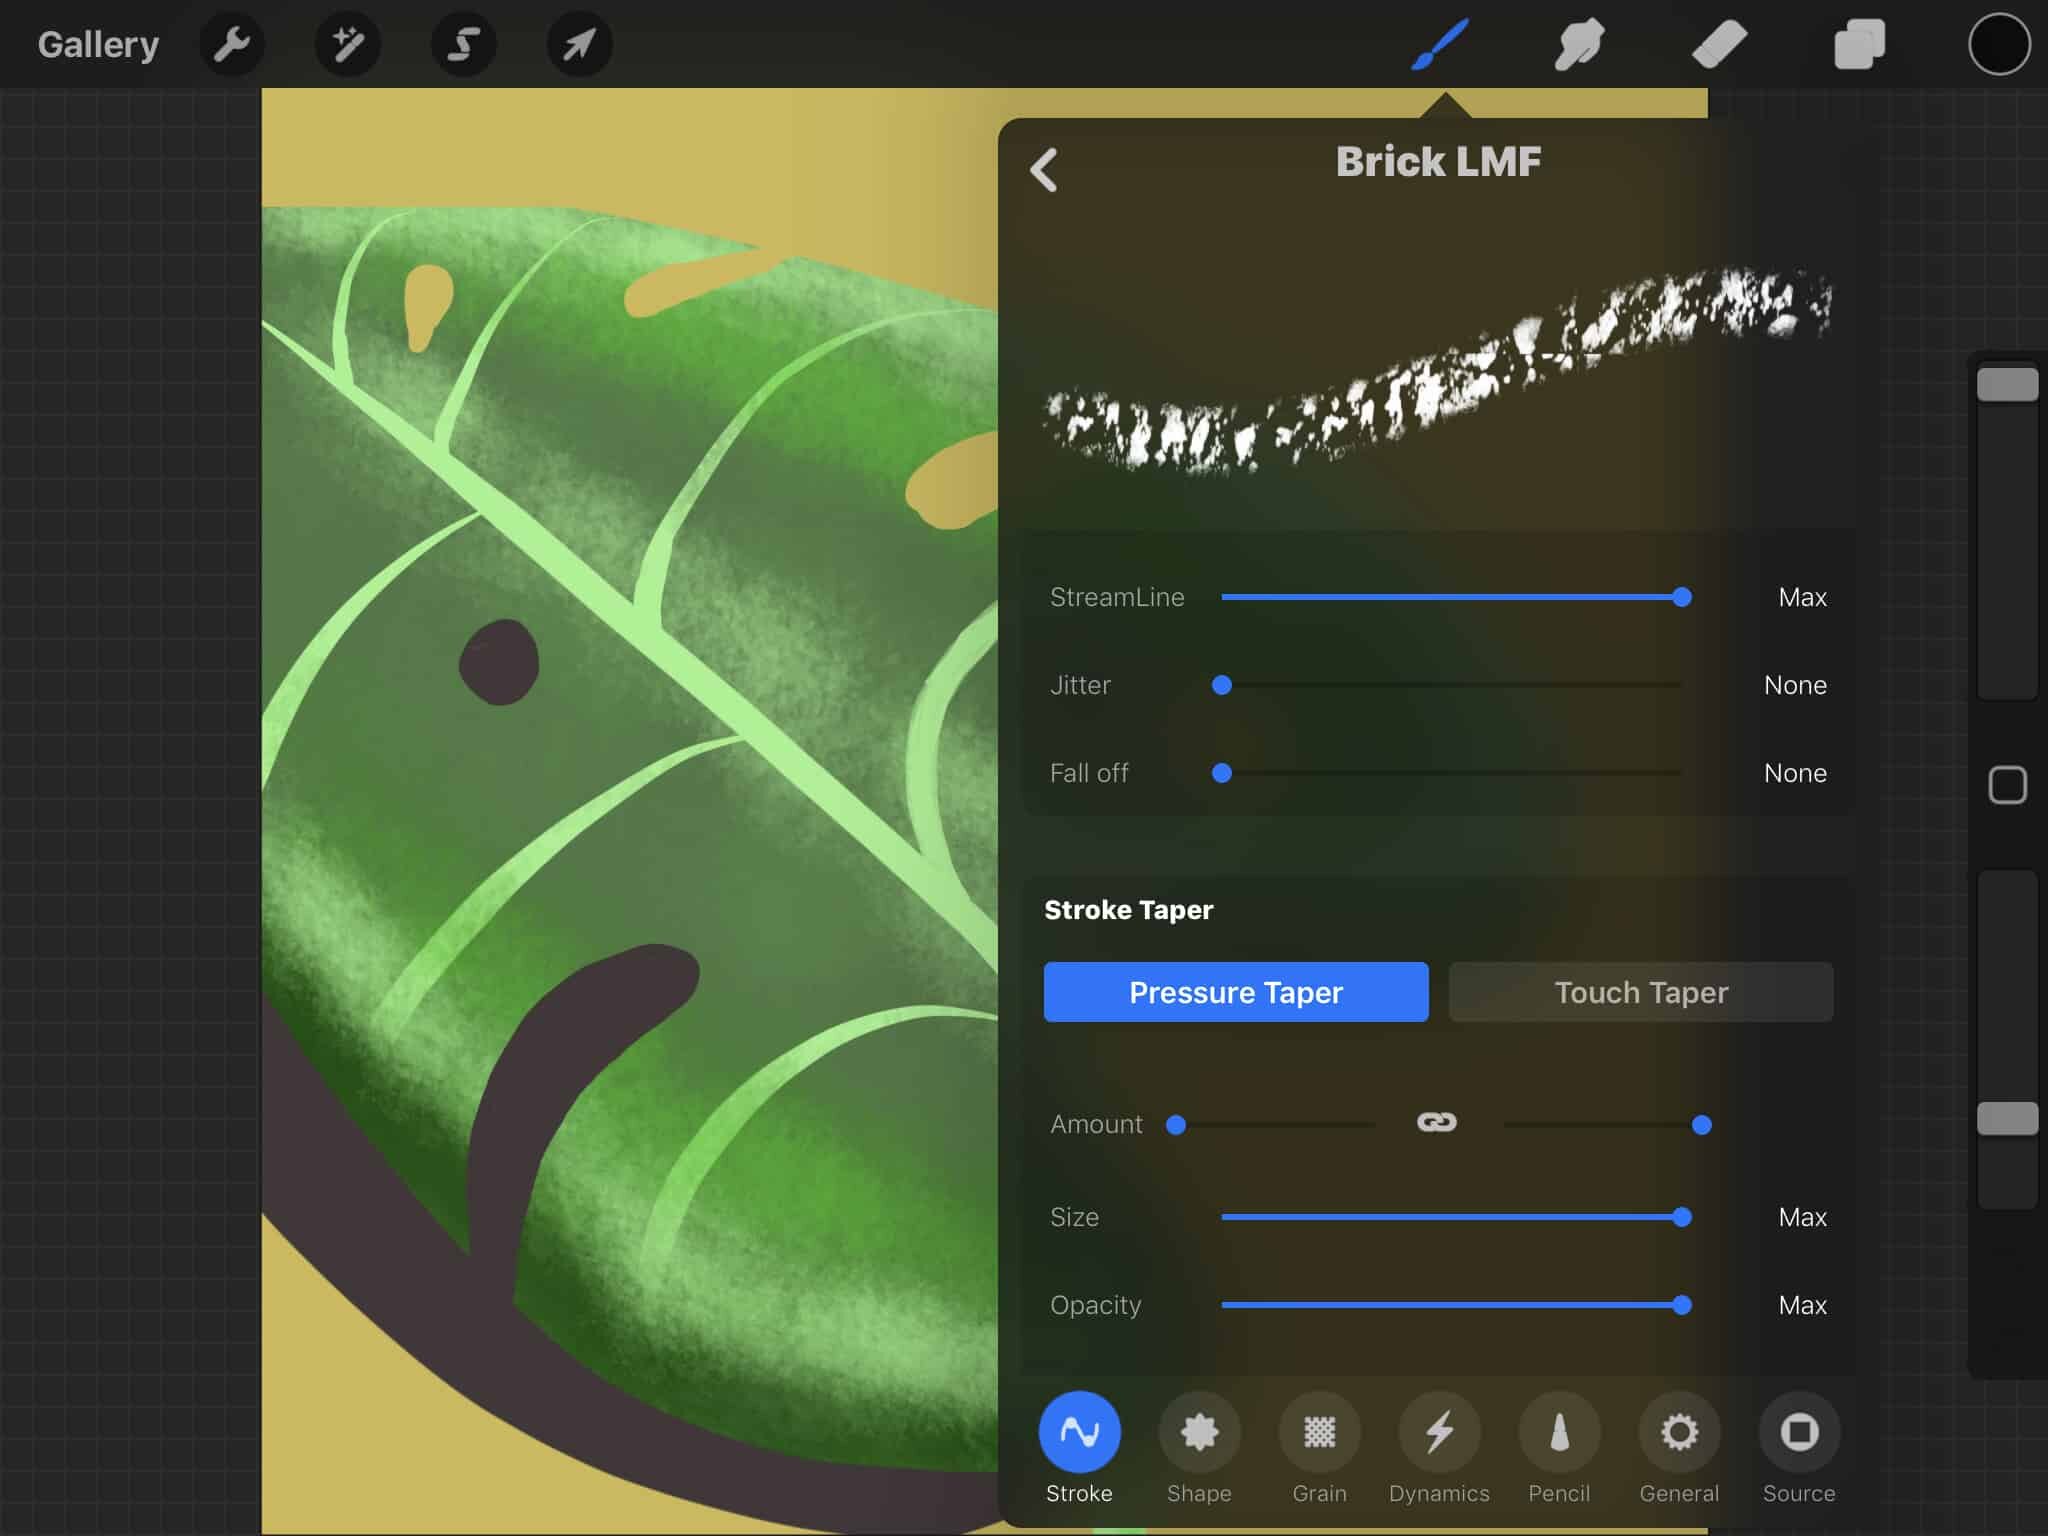
Once your texture is loaded, you’ll have several customization options in Procreate to make the brush truly your own:
Opacity: Adjust the opacity to control how strong or subtle the texture appears.
Shape and Grain: Experiment with settings like grain and scale to see how the brush spreads the texture.
Stroke and Tapering: Control whether the stroke starts or ends with a taper. Adjust the movement and scale for different effects, especially if you want the texture to look softer or more prominent.
Feel free to play around here; you can always reset if needed.
Step 5: Testing and Adding Depth to Your Brush
With your brush created, it’s time to test it out! Choose colors that enhance the texture and add depth. For a more interesting look, use multiple colors or layers. You can also experiment with Procreate’s Alpha Lock feature, which lets you shade within specific layers without bleeding outside the edges.
Adding variations in color and opacity to your strokes will give your brush strokes a three-dimensional look, which can add a lot of life and realism to your work.
Step 6: Use and Experiment with Your New Brush
Once your brush is ready, you’re free to experiment with it in your artwork. This is your brush, so don’t hesitate to make adjustments, duplicate it for variations, or even create a series of brushes inspired by textures around you.


