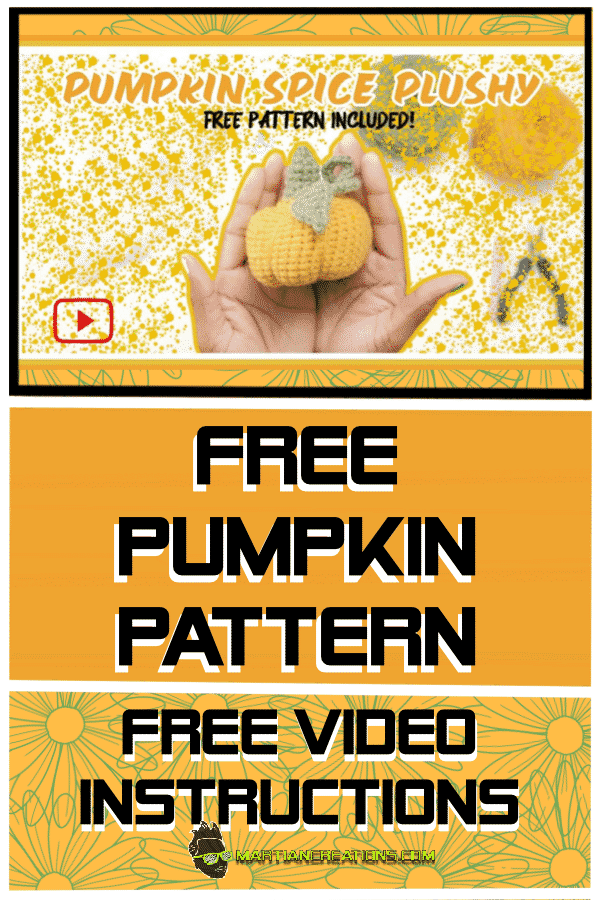
Pumpkin Spice Plushie | Free Crochet Pattern
Pumpkin spice, pumpkin candles, pumpkin pies—whatever type of pumpkin brings cozy fall vibes into your home this crochet pumpkin will make a perfect addition. I’ll show you how to crochet a pumpkin that fits right in with all your autumn decor.
This crochet pumpkin makes the perfect seasonal decoration. Whether adding it to your mantle, placing it on your table, or pairing it with pumpkin spice candles for that extra autumn ambiance. With this fun and easy project, you’ll have a pumpkin that’s not only handmade but also one that you can proudly display all season long.
Visual learner? Scroll to the bottom for the step-by-step video tutorial.
Supplies
Polyfill (for stuffing)
Pumpkin-colored yarn (worsted weight)
Green yarn (stem and leaf)
Pliers (for shaping)
Pumpkin
Ch 2
ROW 1: 6 SC in first CH
ROW 2: 2 SC in each ST around= 12 SC
ROW 3: [2 SC in next ST, 1 SC in next ST]= 18 SC
ROW 4: [2 SC in next ST, 1 SC in next 2 STS]= 24 SC
ROW 5: [2 SC in next ST, 1 SC in next 3 STS]= 30 SC
ROW 6: [2 SC in next ST, 1 SC in next 4 STS]= 36 SC
ROW 7-15: SC evenly= 36 SC
ROW 16: [SCDEC, 1 SC in next 4 STS]= 30 STS
ROW 17: SC evenly= 30 SC
ROW 18: [SCDEC, 1 SC in next 3 STS]=24 STS
ROW 19: SC evenly= 24 SC
ROW 20: [SCDEC, 1 SC in next 2 STS]=18 STS
ROW 21: SC evenly=18 SC
ROW 22: [SCDEC, 1 SC in next ST]= 12 STS
CHANGE TO STEM COLOR IN LAST ST (SEE VIDEO)
Stem
ROW 23-26: SC evenly= 12 SC
At this point, I like to do the pumpkin shaping, using the pumpkin yarn color. (SEE VIDEO)
ROW 27: [SCDEC, SC in next ST]= 8 STS
ROW 28-29: SCDEC evenly= 4STS
FINISH OFF SEW HOLE CLOSED
Leaf
CH 10
First side of CH
SLST in second CH from hook, SC in next, HDC in next, DC in next 2 CHs, CH 3, SLST in same CH as last DC, Turn to work on other side of CH, SKIPPING LAST 4 CHs.
Second side of CH
CH 3, DC in first CH loop, DC in next, HDC in next, SC in next, SLST in last, SLST in loose loop.
FINISH OFF. Sew to pumpkin
SEW TO PUMPKIN
Curly Cue
CH 30
Starting at the third CH from hook, SLST in next 2 CHs, [skip next CH, SLST in next 2 STS] Repeat, SLST in last CH
FINISH OFF
It should twist up easily. Sew to pumpkin
Pin It!
If you love this project, don’t forget to pin it on Pinterest so you can easily find it later and share it with others! It’s a great way to organize your favorite ideas and inspire your next creation.
Support It!
If you've enjoyed our time together and would like to support my work, a small gesture like buying me a “cup of coffee” goes a long way!


