Make Your Own Procreate Brushes
I don't just do DIY here at Martian Creations. I get a little techie every now and again. Sometimes, I draw too. Let's make some Procreate brushes!
This weekend I decided to do some downtime drawing in Procreate on my iPad Pro. As I usually do, I got bored. I got bored with the brushes Procreate had to offer. Don't get me wrong, Procreate has A LOT of brushes and they are beautiful no doubt. But I had something in my mind for texturizing a drawing and I couldn't find it in the app, so I decided to ADD it to the app!
A Disclaimer:
I am by no means a Procreate pro, heck no. I just love to use it. I have not delved very deep into it. I did discover layers, Alpha Layers, found their NEW OPTION to add text, found out how to import text I found on the web to it, I found how to fill in shapes with colors easily without coloring it in manually (which takes forever). I learned how to export a video of my drawings as a timelapse ETC.
I can show you how to take a photo of a texture and turn that into a BRUSH. And show you how to make tiny changes to it to make it look how you imagined it in your head!
First, take some pictures of textures. I took one of the brick outside my house. Therefore the name of this brush shall me called Brick. So original, I know. But it lets me know what it used to be...I took this next photo with a camera but feel free to use your iPad to do so. It's not important where it comes from.
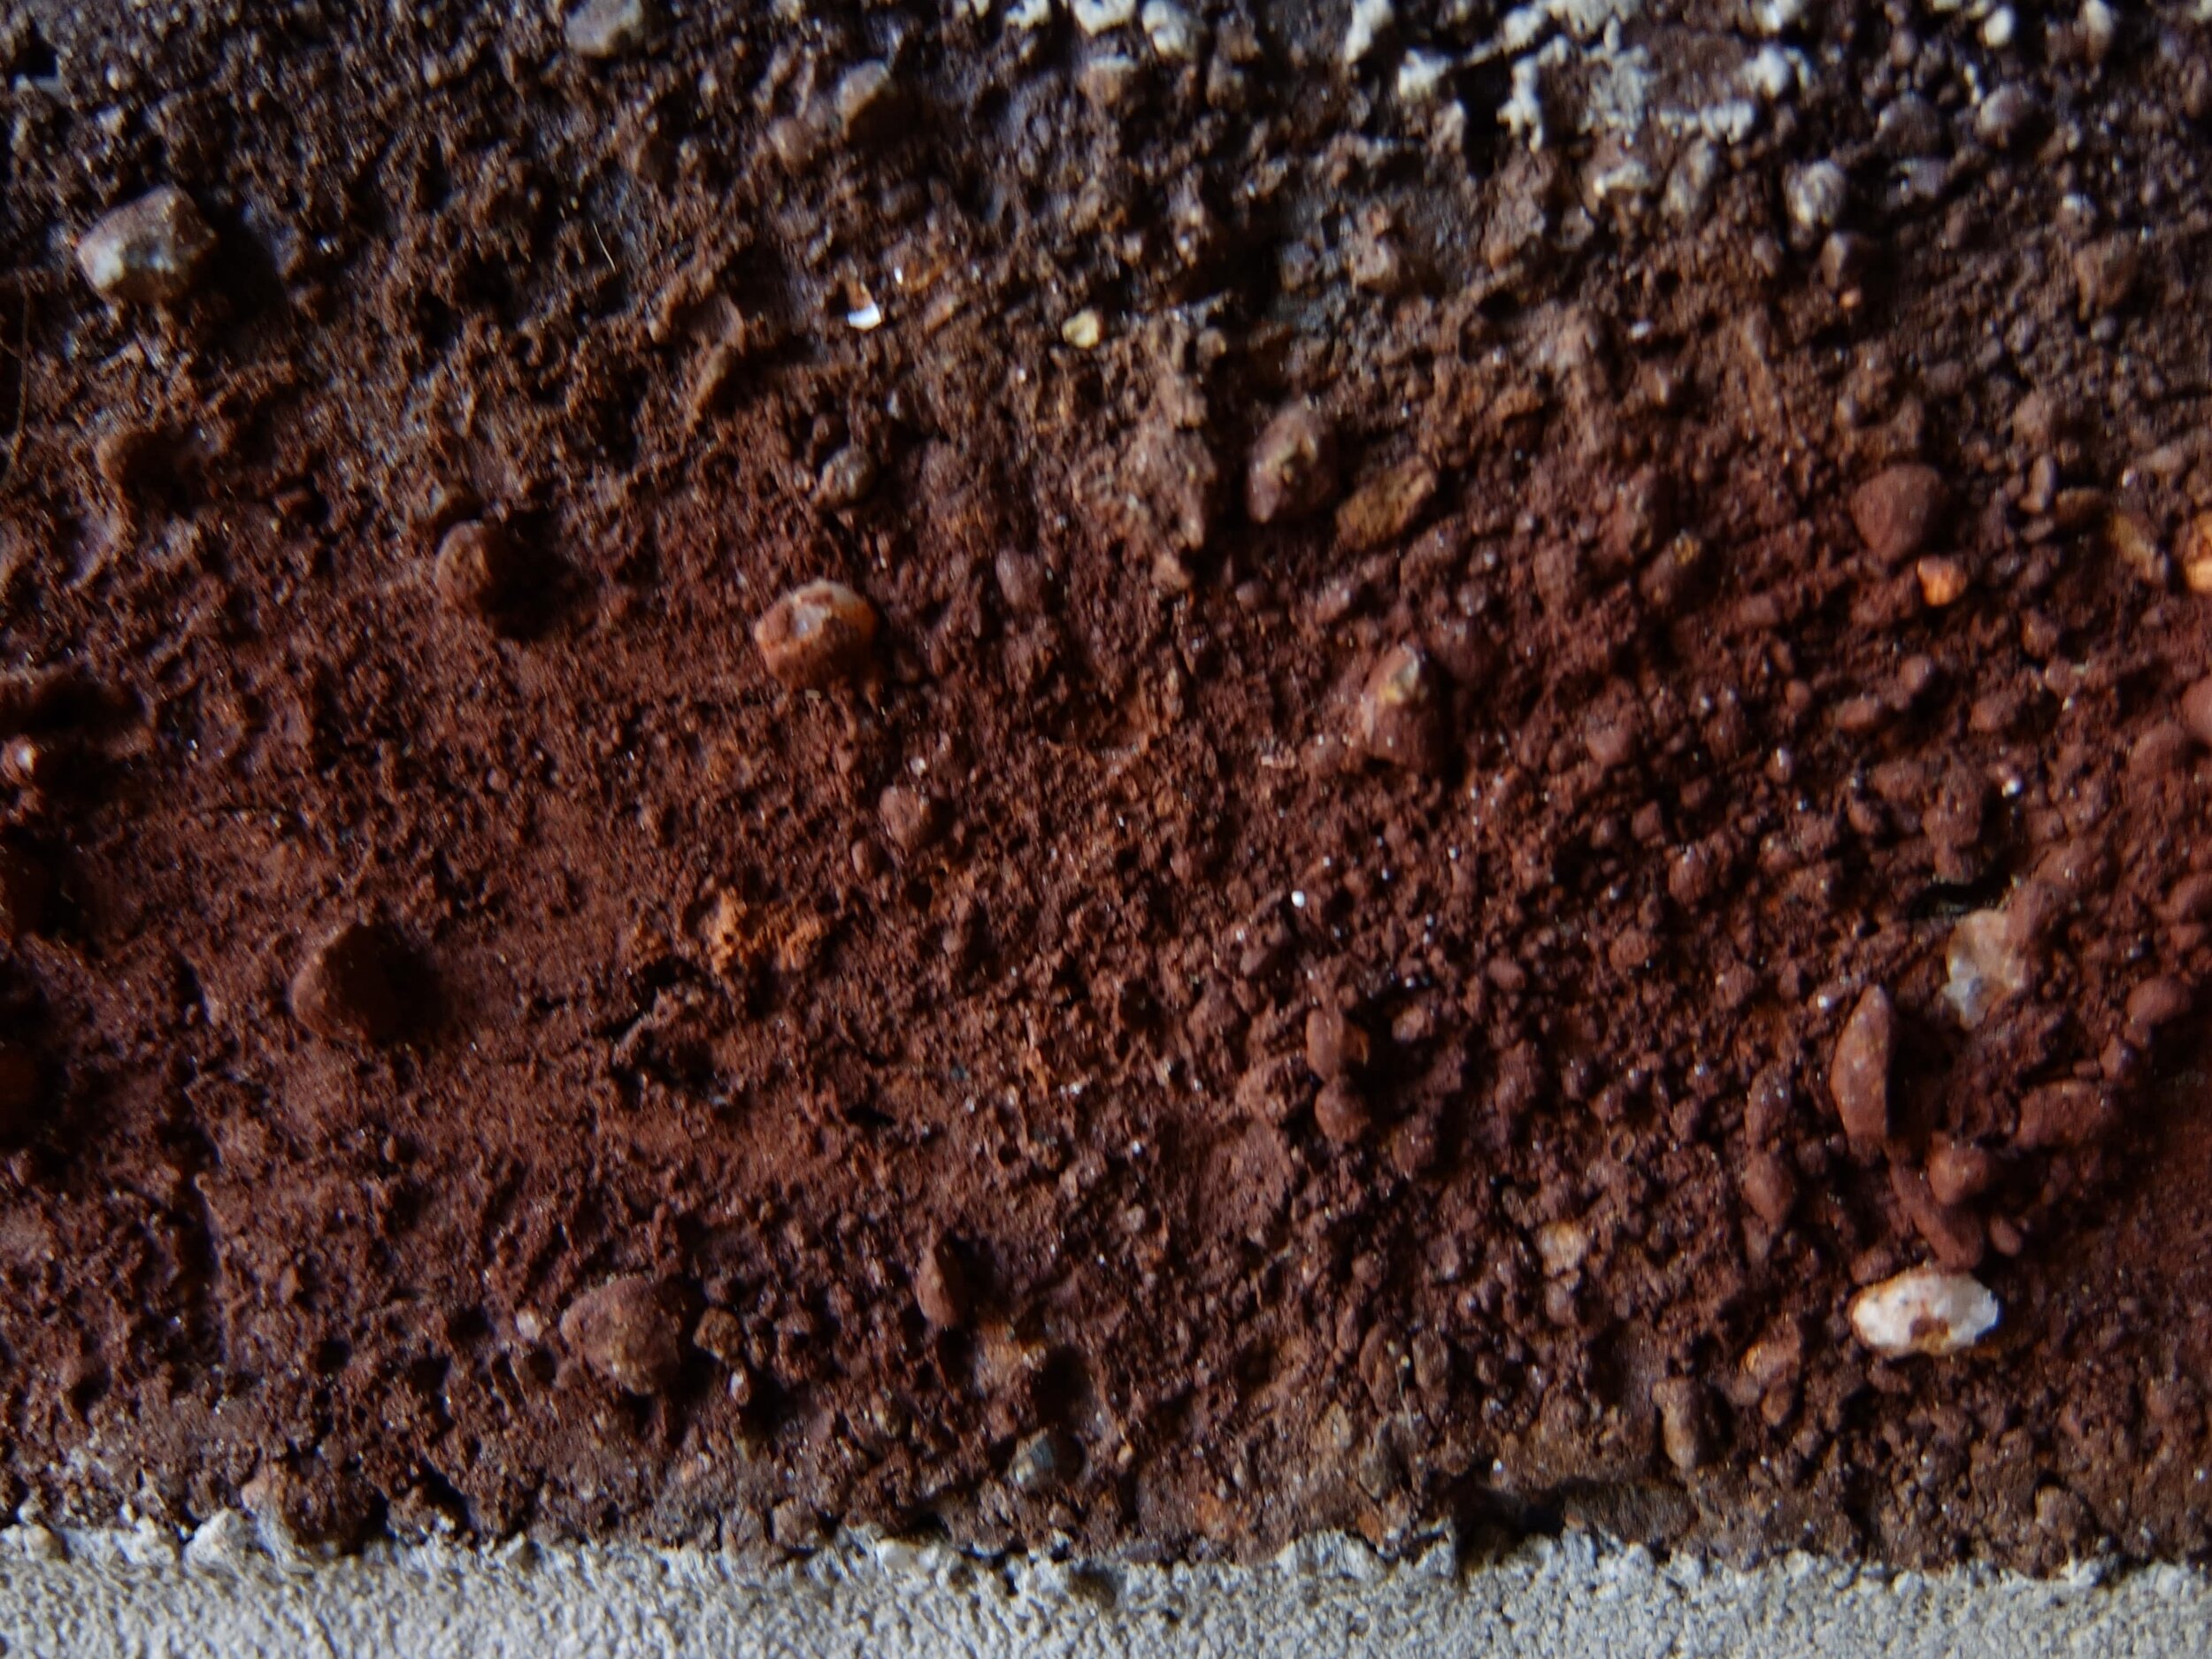
Now make that photo Black and White. I used the easy editing tool offered in the iPad Pro Camera Roll.
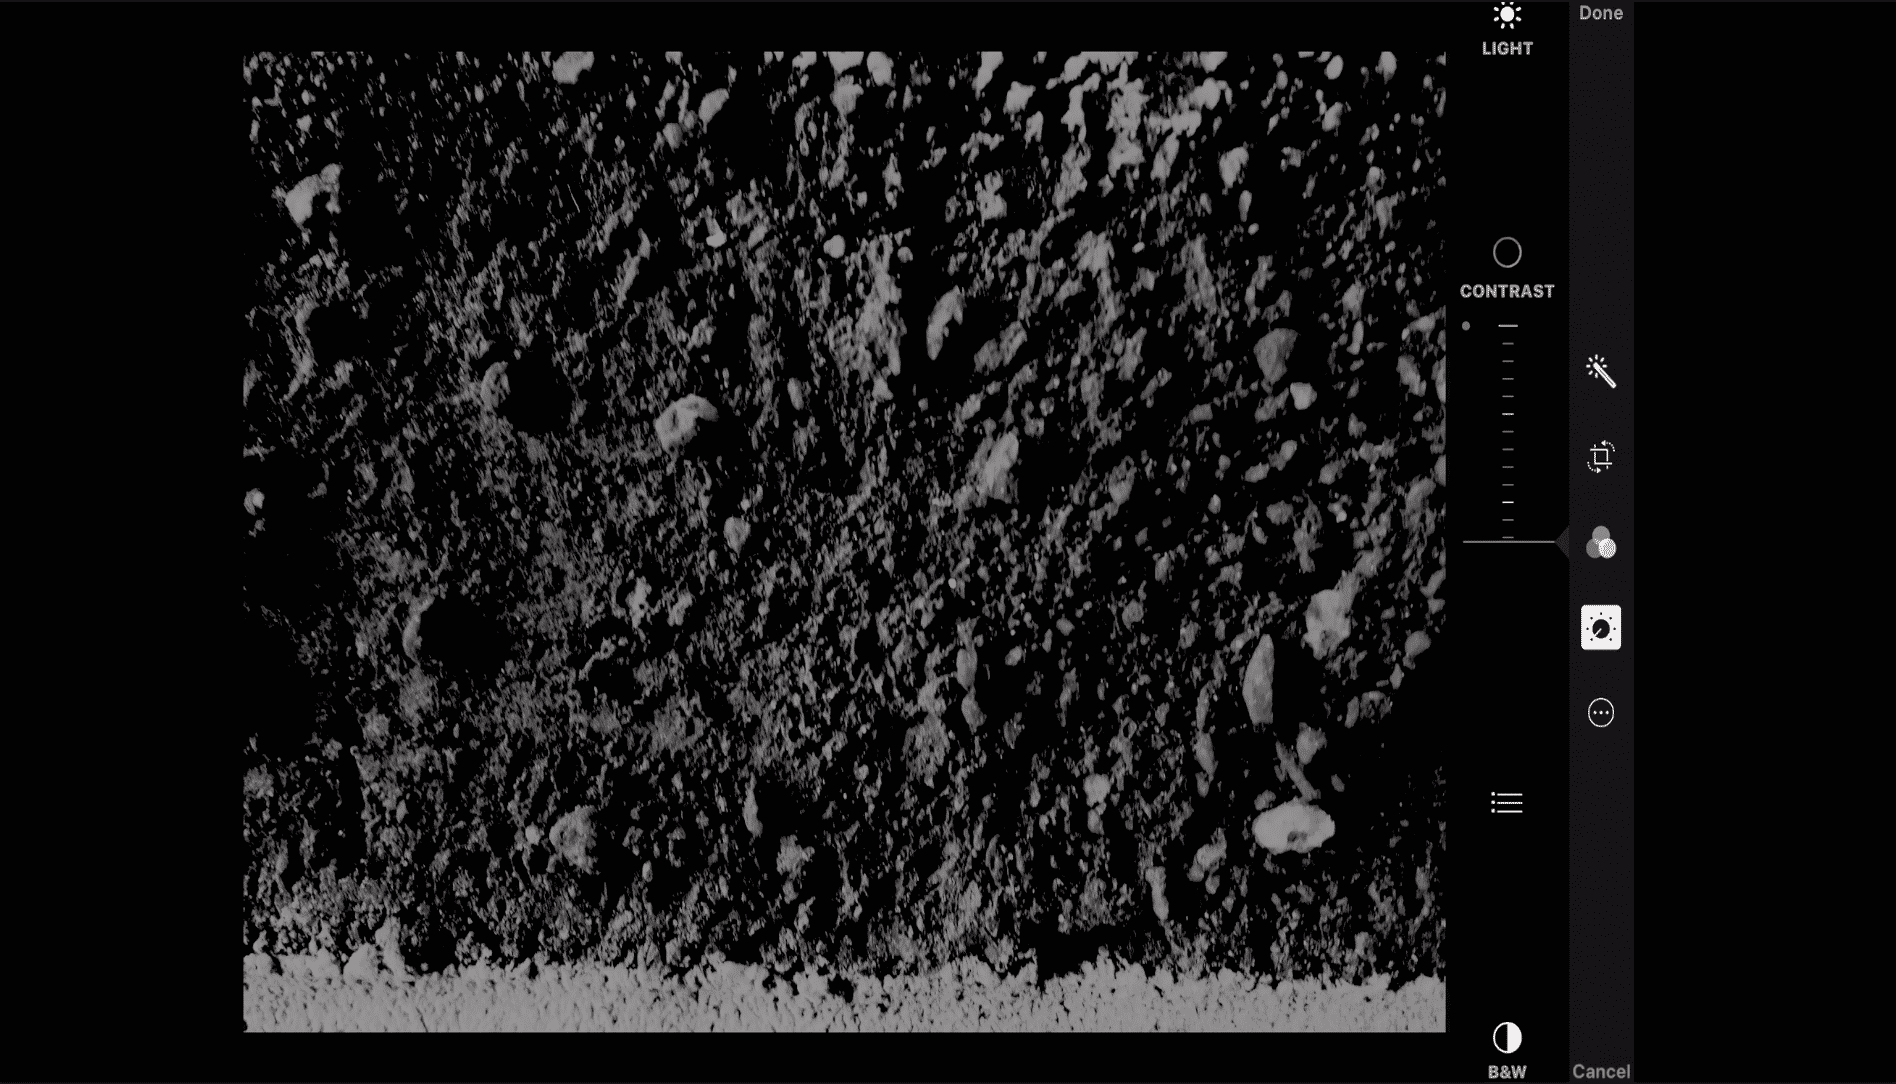
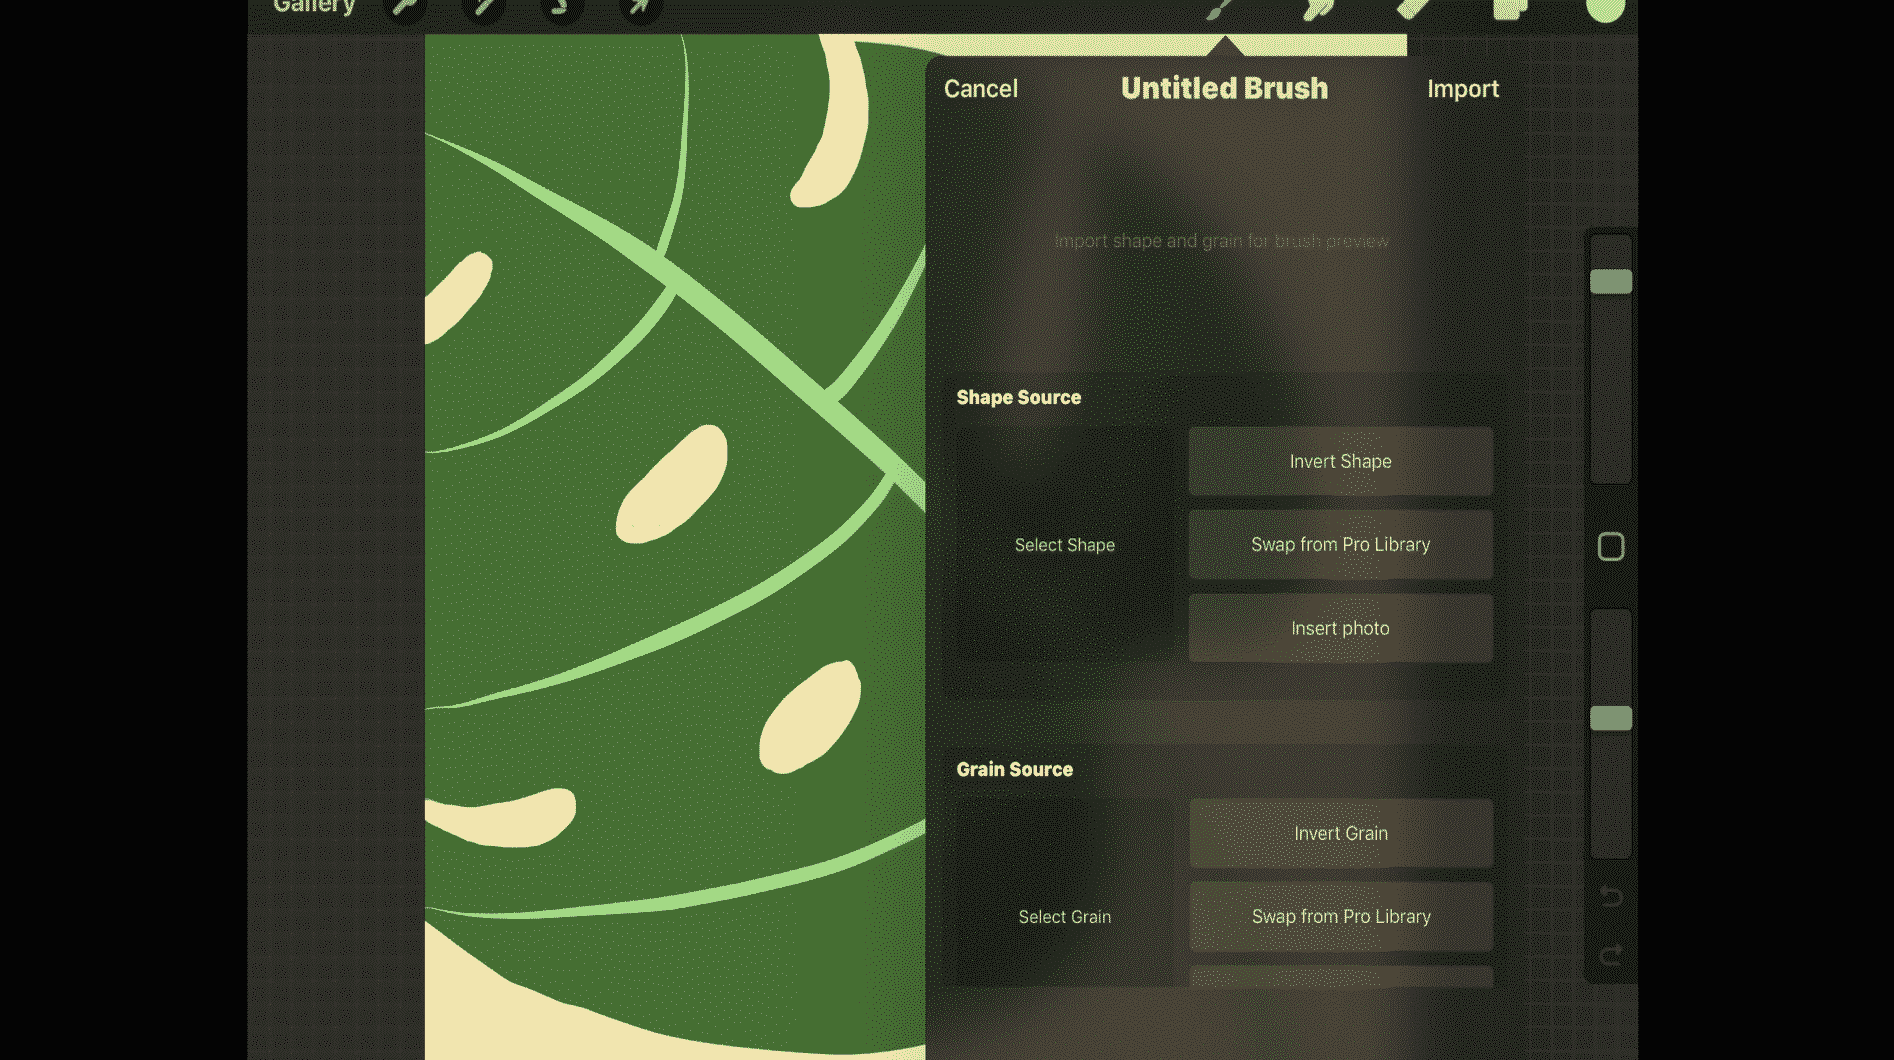
After that, I saved it in my Camera Roll. I opened Procreate. Once I've done that, I opened my brushes and hit the PLUS + symbol. It should ask you to add your Shape Source and your Grain Source. Your Shape Source is just the shape of the outside of the brush. You have easy access to Procreate's Pro Library. I chose one from there called Ink Splotch. The source is needed but what you choose is up to you. Make sure it's large enough to show off your premade brush you are about to create. Next, you need to choose your Grain Source. This would be your black and white picture of texture you captured. Access that by hitting Import Photo under Grain Source and choose your photo from the Camera Roll.
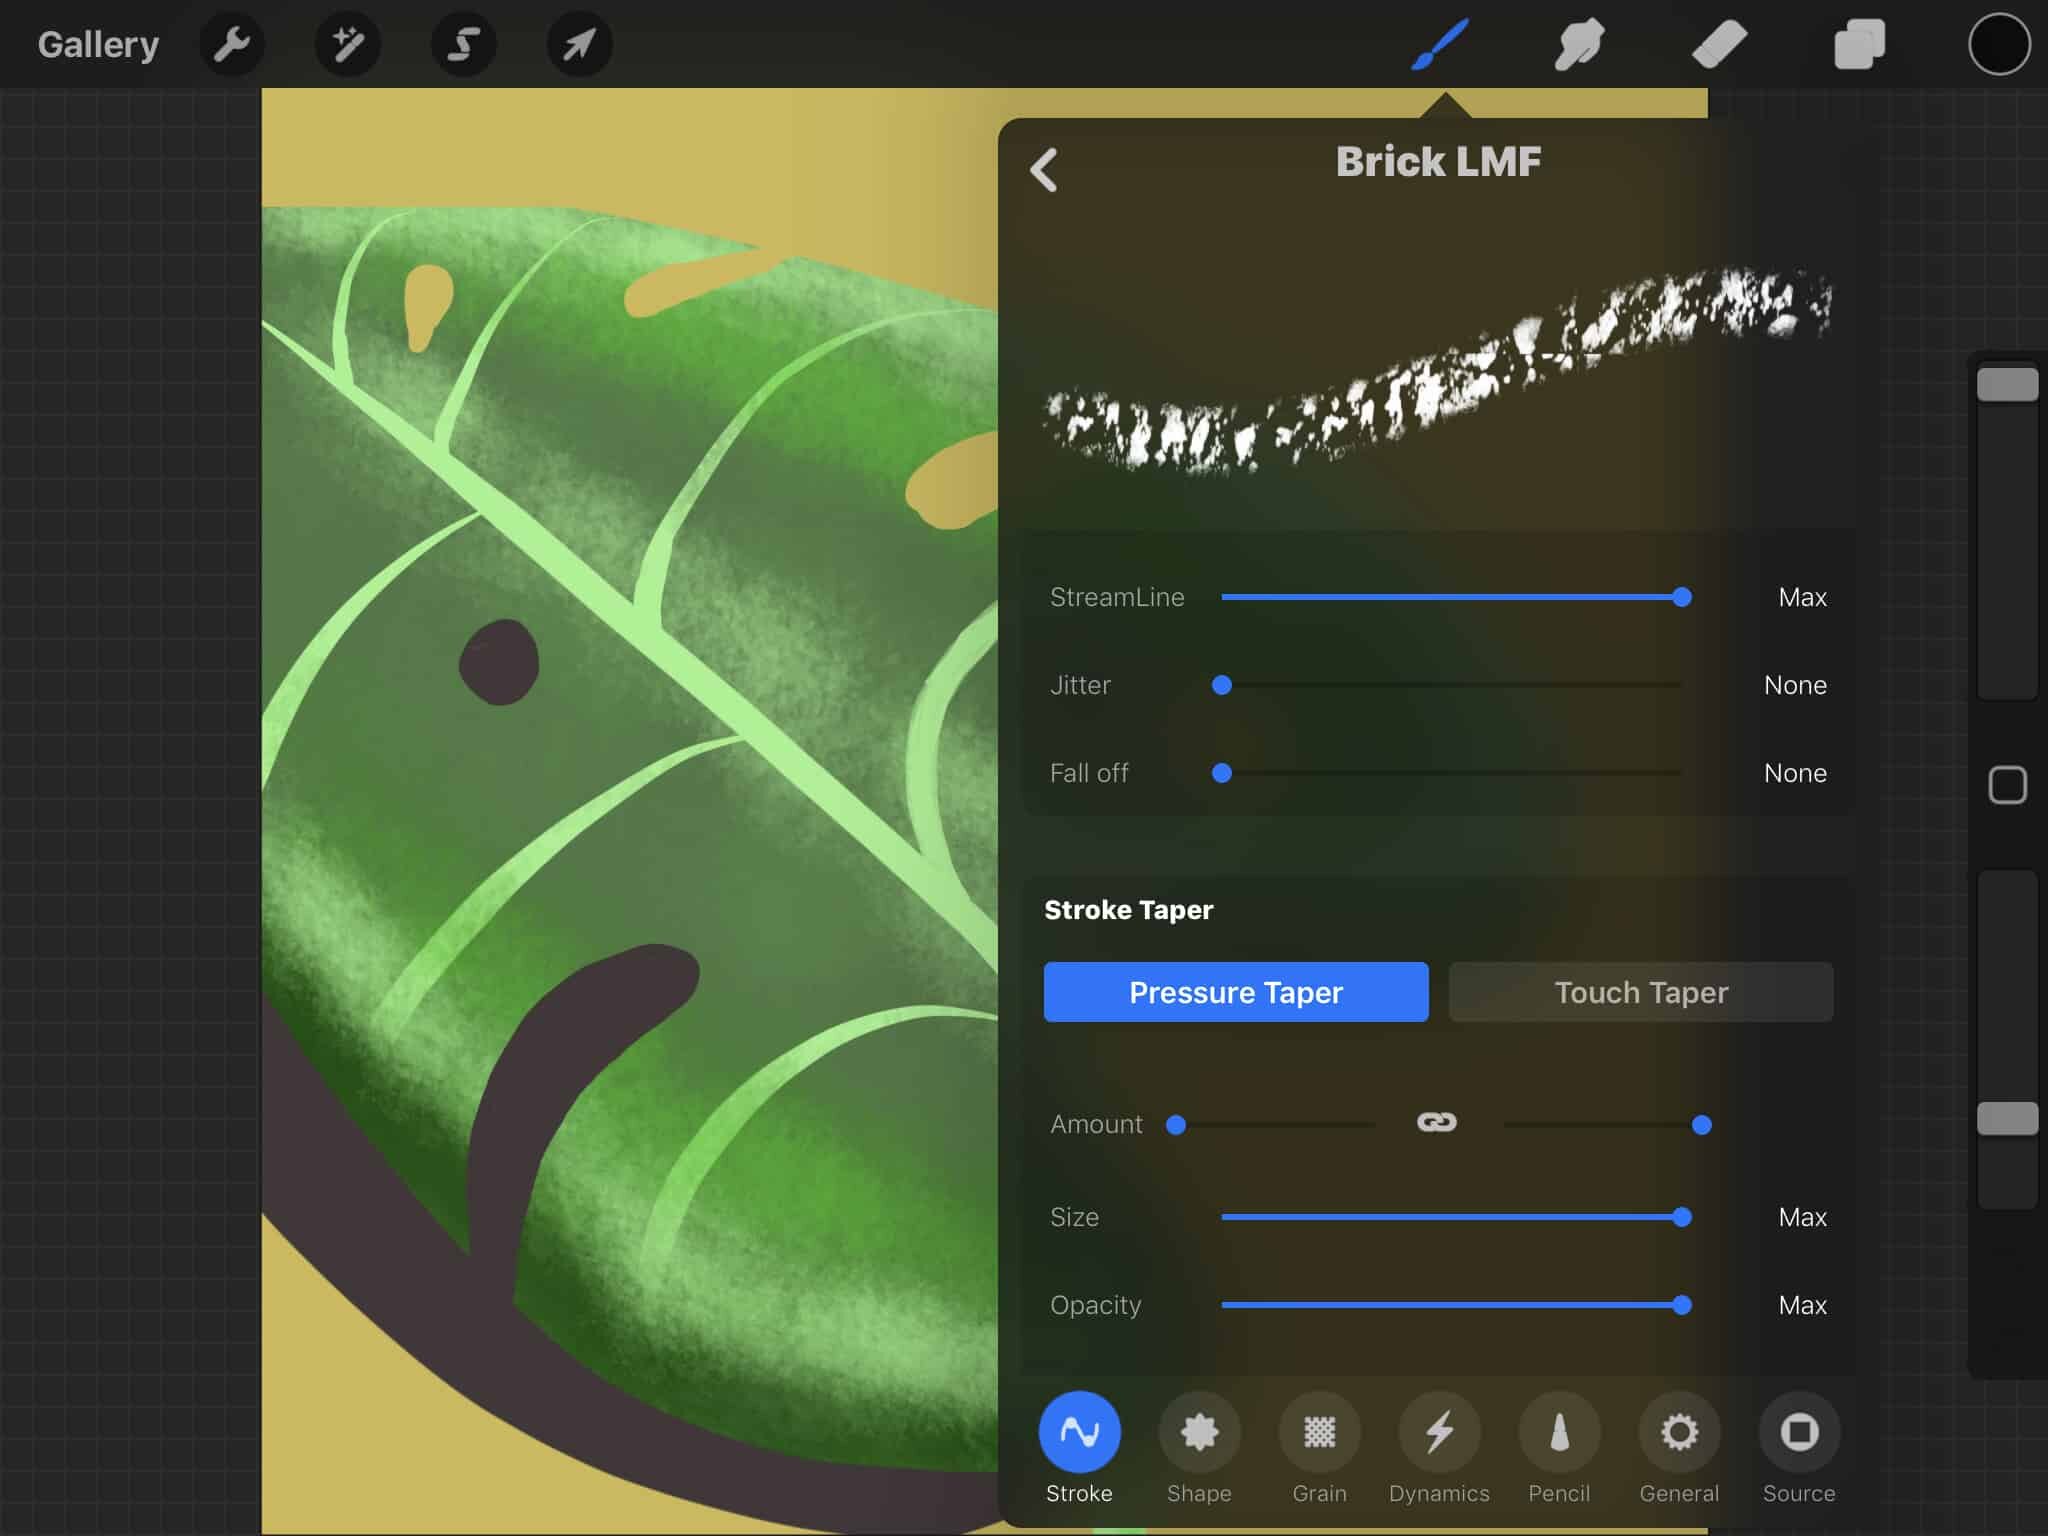
From this point, you can start playing around with HOW you want your brush to perform. This is a bit out of my realm of expertise but I DO know that Streamlining it makes it perform smoothly and I like doing this for all my brushes! It makes for REALLY clean lines.
Now you have a custom made, Texturizing brush! Enjoy and do many more!