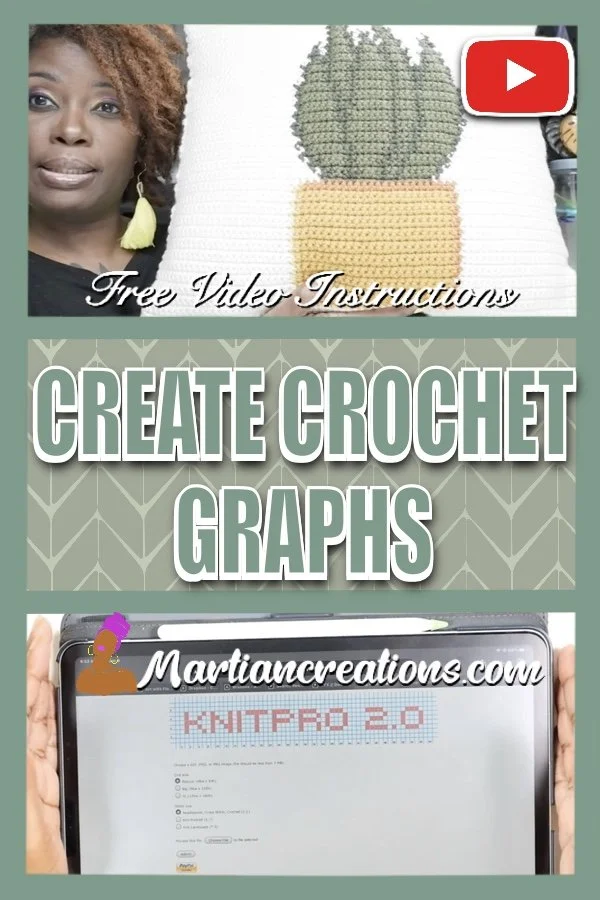
Create Crochet Graph/Grid
If you're passionate about crochet and want to design your own patterns for pillows, blankets, shirts, or even tapestries, then learning how to create crochet graphs is essential. In this tutorial, I’ll show you how to use apps like Knit Pro and Stitch Fiddle on your iPad to turn your designs into beautiful crochet pieces.
I’ve been crocheting for over 20 years and have been on a quest to find the best tools to create grids for graphgans and other crochet projects. This is the solution worked for me and I hope it helps you!
Visual learner? Scroll to the bottom for the step-by-step video tutorial.
Why Use an iPad for Crochet Graphs?
For me, the iPad is a perfect tool for creating crochet graphs. Its portability and versatility make it easy to edit and customize designs on the go. You can quickly switch between different apps, use touch controls for precision, and export your work in various formats. Whether you’re working on a crochet pillow, a purse, or a tapestry, the iPad gives you flexibility without the need for bulky desktop software.
Programs Needs
Procreate ($12.99, as of this post) - One of the best drawing apps available for the iPad, and excellent for editing crochet graphs.
KnitPro (Free) Basic graphs if you don't care about the colors of the square.
Stitch Fiddle ($5) Preferred. It has all the options you need and is easy to navigate.
GridMaker (.99¢) Helps you make other shapes besides squares, Including circles.
Starting Your Design
The first step is to choose your design. You can either draw your own image (like I did with a simple cat sketch) or find inspiration elsewhere. For this tutorial, we’ll convert a picture into a crochet grid.
Using Knit Pro to Create a Crochet Grid
Knit Pro is a fantastic tool that helps convert images into pixelated grids for different crafts like needlepoint, cross-stitch, and crochet. Here's how to use it:
Accessing Knit Pro:
Open Safari on your iPad and go to Knit Pro
I recommend using Safari for easier downloading, but Chrome works too.
Setting Up the Grid:
Choose the size of your grid. For this tutorial, we’ll stick with the default of 48 squares wide and 64 squares high, which is great for medium-sized projects like pillows or shirts.
Select the craft type—choose "crochet" for this project.
Uploading Your Image:
Upload your design by selecting a photo from your iPad. For example, I used a JPEG of my cat sketch.
Hit “Submit” to generate the crochet graph.
Editing the Graph:
After the graph is generated, you may notice imperfections. For example, gray boxes around the eyes or mouth that need to be cleaned up.
Export the graph to your iBooks or photos, where you can edit it further using tools like Procreate.
Editing the Graph in Procreate
Importing and Cropping:
Open Procreate, and import your graph from your photos.
Crop out any unwanted edges or imperfections by moving and resizing the image until you're happy with the layout.
Using a Pixel Brush for Edits:
I created a custom “pixel monoline” brush in Procreate, which I’ll share for free in the description.
Use the eye dropper tool to select the exact colors from your graph (e.g., the right shade of teal or white).
Start filling in the graph, adjusting any areas that need fixing—especially the eyes and outlines. Remember to zoom in to make sure everything looks neat when viewed up close.
Perfecting the Design:
Fill in the boxes one by one, keeping the overall design neat and symmetrical. For example, when working on the eyes, follow a pattern to ensure both are even and proportionate.
Using Stitch Fiddle for Advanced Features
Stitch Fiddle is another powerful tool for creating crochet graphs, and it comes with a small $5 fee to unlock all its features. Here’s how to use it:
Creating an Account:
Head to Stitch Fiddle and create an account.
Once logged in, click the “+” button to start a new crochet chart.
Choosing a Chart Type:
Select “crochet with colors,” as this is ideal for graphgans, pixel crochet, and picture crochet.
Uploading Your Image:
Upload your design (either as a JPEG or PNG) and adjust the stitch count to fit your project.
Stitch Fiddle allows you to customize the size and detail of the graph. The higher the stitch count, the more detailed your design will be.
Adjusting for Pillow Size:
If you’re creating a pillow, keep the graph square (equal on all sides). For example, a 50x50 grid gives more detail than a smaller 20x20 grid.
Editing and Refining:
Stitch Fiddle provides an easy-to-use interface where you can edit your graph, fix any pixel imperfections, and even export your chart into different formats like an Excel spreadsheet.
Setting Up the Grid
To get started, open the app and toggle on the grid function. Here's how:
Turn on the grid: Make sure the grid is toggled on. Leave the columns and rows settings alone unless you want to customize them.
Pick a color: You can choose any color for your grid. For me, I chose a generic color to keep things simple, but this is entirely up to you!
Adjust grid size: I set my grid to 1/10th of an inch, creating small, neat squares. This ensures that the grid is suitable for my project, which in this case, is a pillow.
Customizing the Numbers on the Grid
Once the grid is set, the next step is to adjust the numbers:
Positioning the numbers: I clicked on the icon that places numbers on the grid. This is important because it helps you keep track of where you are on the grid.
Adjust the starting number: Change the default start number from 0 to 1 by clicking the plus sign. This ensures that your grid starts with 1 for better organization.
Label between lines: I made sure the numbers appear between the grid lines, not on them. This makes the grid easier to read and understand.
Adjusting Page Settings for a Square Grid
For projects like pillows or other square designs, setting up the right page size is key:
Page settings: I went into the page settings and customized it to fit a square grid layout. After some trial and error, I found that 70 squares by 70 squares worked best for me, though 71 squares was the closest I could get in the app.
Consistent sizing: With the grid set to 70 x 70 squares, the layout is evenly balanced on all sides, perfect for a square-shaped item like a pillow.
Adding an Image to Your Grid
Here’s where things get fun—adding your design:
Insert your image: I uploaded an image of a snake plant, which I drew specifically for this project. Simply click the "Add Image" option and select the picture you want to use.
Positioning the image: You can adjust the size and position of the image on your grid. Use the plus and minus buttons to center the image and make it fit perfectly within the grid.
Exporting and Saving Your Grid
Once your grid and image are set:
Export the grid: Click on the icon with three dots at the top and select “Save.” I typically save my files to Downloads, but you can choose any folder that’s convenient for you.
Name your project: Don’t forget to rename your file. I named mine "Snake Plant" for easy reference.
Filling in the Grid for Crocheting
Now that the grid is saved, you can move on to crocheting! I use the pixelated brush in the app, which you can download for free. This allows me to color in each square of the grid, helping me follow the pattern while crocheting by using a transparent color.
Hope this article is easy to understand and helps you with your endeavor to create a grid pattern for crocheting!
Happy crocheting!
Pin It!
If you love this project, don’t forget to pin it on Pinterest so you can easily find it later and share it with others! It’s a great way to organize your favorite ideas and inspire your next creation.
Support It!
If you've enjoyed our time together and would like to support my work, a small gesture like buying me a “cup of coffee” goes a long way!


